Almost everyone has experienced a leaky bathtub faucet at one time or another. But while it may not seem like a big deal, a leaking faucet can actually cause a lot of water damage if left unchecked. In this blog post, we will show you how to fix a leaky bathtub faucet in just a few simple steps. So read on and learn how to take care of this common household problem yourself!
4 Types Of Faucets
Knowing the four common types of faucets will help you know how to disassemble and fix them if need be.
Cartridge Faucets
You know those faucets with two handles that are usually in bathrooms? The ones where you have to move the faucet handle up and down to turn on the water? Yeah, those. The thingamabob behind the scenes that makes them work is called a cartridge, which also goes up and down depending on how much water you want flowing.
Schedule Service Online
Get a free estimate so you know what you're signing up for
"*" indicates required fields
For Emergency Services Call: 410-255-9300
Disc Faucets
A disc faucet is very similar to a cartridge faucet, but instead of a cartridge, there is a metal disc that opens and closes the water flow. These types of faucets are less common in households but can be found in some kitchens.
Ball Faucets
These faucets use a ball joint to control the hot and cold water lines. They are characterized by a single handle on a rounded cap mounted on top of the spout. To work them, you push them up and down to adjust the pressure, then left or right to adjust the temperature. They’re common in kitchens and other high-use areas like laundry rooms or workshops.
Compression Washer Faucets
Compression washer faucets, despite being the oldest type of faucet, are frequently used today. They use rubber washers in order to seal against the water flow tightly. Their two handles do not move up or down; they only move side to side.
The most discernible trait of a compression washer faucet is that you can feel the handle getting tighter as it’s turned off.
What Can Cause A Leaking Bathtub Faucet?
There are many more causes of leaky faucets than you might think. Here are the main five causes:
A Damaged Cartridge
A cartridge-style faucet has a cartridge in the spout of the faucet. The valve on each handle is called a cartridge, and it controls water flow into the faucet nozzle. If your faucet is dripping, there’s probably something wrong with the cartridge.
Broken Washers
Broken washers are a typical source of dripping faucets. Washers sit against the valve seat and wear down with time due to friction. This then causes leakage. If a washer is the wrong size or not properly installed, it can also cause a leaking faucet.
Loose Packing Nuts
Packing nuts are used to seal the area around the valve stem. If these packing nuts become loose, water will seep through and cause a leak.
Worn-Out O-rings
O-rings are small rubber or synthetic rubber rings that create a seal between two metal surfaces. Over time, they can become brittle and cracked, and this can cause a leaky faucet. Replacing the O-ring is usually a quick and easy fix.
Misaligned Valve Seat
The valve seat is the part of the faucet that the washer presses against to stop the flow of water. If this becomes misaligned, it can cause water to leak out even when the faucet is turned off.
Precautions To Take Before Fixing Your Leaky Tub Faucet
Now that you know the most common causes of dripping bathtub faucets, it’s time to learn how to fix them. But before we get into that, there are a few things you should do in order to prepare for the repair:
1. Turn Off The Water Supply
This is an important step that many people forget. Before you do anything, make sure to turn off the water supply to your sink. This will prevent any further water damage and make the repair process much easier.
There are usually two valves under your sink: one for hot water and one for cold water. Simply turn both of these valves clockwise until they’re tight. If you can’t find the valves, you may need to shut off the main water supply to your home.
2. Gather The Right Tools
Now that the water is turned off, you can gather the tools you’ll need for the repair. We will list the recommended plumbing tools in the section below.
3. Remove Any Aerators Or Water Filters
If your sink has an aerator or water filter, make sure to remove it before starting the repair. These can usually be unscrewed by hand. Once they’re removed, set them aside in a safe place, so they don’t get lost.
4. Know Where Your Shut-off Valves Are Located
There are usually two shut-off valves located under your sink. But it’s a good idea to know where the main shut-off valve for your home is as well. This will come in handy if you ever need to turn off the water to your entire house.
The main shut-off valve is usually located near your water meter or where the main water line enters your home. If you’re not sure where it is, ask your local plumber or utility company.
Tools You Will Need For This Repair
-A Phillips head screwdriver
-A flat head screwdriver
-Adjustable wrench or plier
-A rag
-Seat wrench
-Replacement parts (O-rings, packing nuts, etc.)
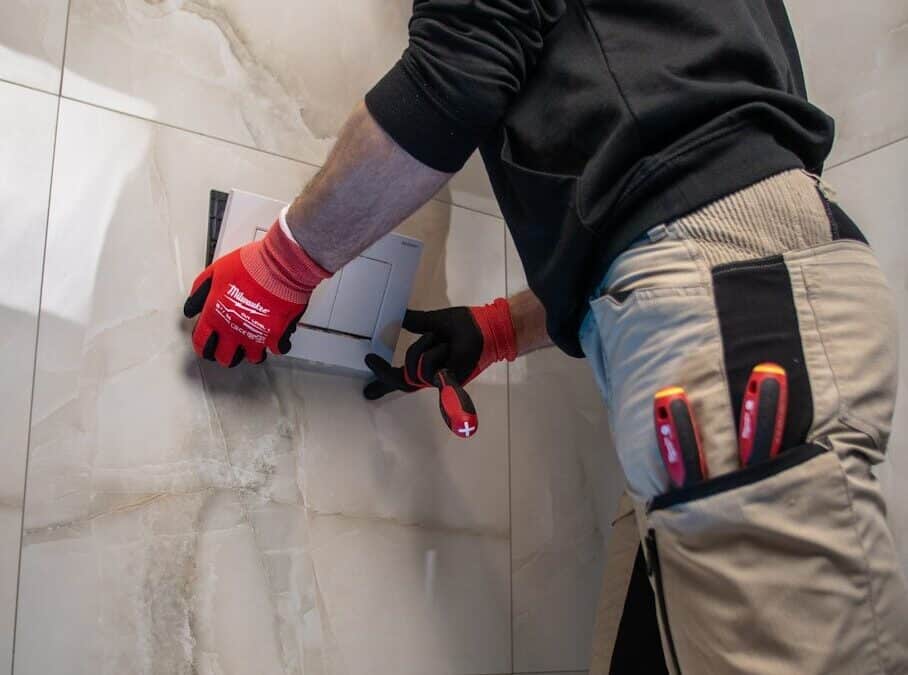
How To Fix A Leaky Bathtub Faucet
Now that you know the main causes of leaky faucets, it’s time to learn how to fix tub leaks! Below are step-by-step instructions for fixing different types of faucets.
Step 1. Shut Off The Water Supply
The first step in repairing a leaking tub faucet is to turn off the water supply. If you don’t do it, you’ll end up spraying water all over when you start removing the faucet from its fitting.
There may be a simple valve at your home or apartment that lets you shut off the water to the bathtub. If all else fails, you’ll need to turn off the water supply to your entire house before proceeding to the following step – there should be a lever near the water meter that will enable you to do so.
Step 2. Remove The Handle
After the water is off, you can begin to remove the handle. In most cases, there will be a small cap on the top of the handle that you can unscrew with your fingers. Once this is removed, you should see a screw – use a Phillips head screwdriver to remove it.
If your faucet doesn’t have a removable cap, look for a set screw on the side or back of the handle. Use an Allen wrench to remove this screw.
Once the screw is out, you should be able to pull off the handle. If it’s stuck, insert a flat head screwdriver into the slot where the set screw was and pry it off.
Step 3. Remove The Retainer Nut And Seat Washer
With the handle out of the way, you should now be able to see a retainer nut holding the faucet in place. Use adjustable pliers to loosen and remove this nut. Behind it, you’ll find a seat washer screw- remove this as well.
Step 4. Pull Out The Faucet Stem
With the nut and washer removed, you should now be able to pull out the faucet stem. If it’s stuck, you can use a flathead screwdriver to pry it out. Be careful not to damage the finishes on your tub or sink as you do so.
Step 5. Inspect The Washer And O-Ring
Now that the stem is out, you can inspect the washer and O-ring for any damage. If either of these parts is damaged, they will need to be replaced. You can find replacement washers and O-rings at your local hardware store.
Step 6. Replace The Damaged Parts And Reassemble
If you did find damage to the washer or O-ring, simply replace it with a new one and reassemble the faucet. Make sure to hand-tighten all of the screws and nuts – don’t use any tools, as this could strip the threads.
Step 7. Turn On The Water Supply And Test The Faucet
Once everything is back in place, turn on the water supply and test out your faucet. If it’s still leaking, you may need to replace the entire faucet. This is a job best left to a professional plumber.
Hopefully, this article has helped you learn how to fix a leaky bathtub faucet. With a little time and effort, you should be able to do it yourself!
Need A Plumber?
You might think that calling in a plumber for such an easy repair is overkill. But if you’re not comfortable working with plumbing, it’s always better to be safe than sorry. Plumbers have the experience and knowledge to quickly fix your faucet without causing any further damage.
Plus, they can check for any other potential problems in your plumbing system while they’re there. If you need a plumber, make sure to reach out to us! We can get your faucet fixed in no time!