A leaky bathtub faucet can be a nuisance and lead to higher water bills of up to $6 per month if not addressed promptly. This may look small, but it can quickly add up. Luckily, fixing a leaky faucet is an easy job that requires little plumbing knowledge or tools. In this article, we’ll discuss how faucets work and provide detailed instructions on how to fix a leaking bathtub faucet.
Get To Know Your Faucets
Bathtub faucets can be single handles, two handles, or shower-only fixtures.
Single Handle Faucet
Most bathroom faucets are single-handled and mounted directly on the sink or countertop. These faucets are operated by a single handle that lifts up and down to adjust water temperature while twisting left or right controls water flow. Single-handled faucets often feature a cartridge, ball joint, or ceramic disc valve for controlling water flow. The faucet’s body is typically made of brass, copper, or stainless steel for long-lasting durability.
Schedule Service Online
Get a free estimate so you know what you're signing up for
"*" indicates required fields
For Emergency Services Call: 410-255-9300
Two-Handle Faucet
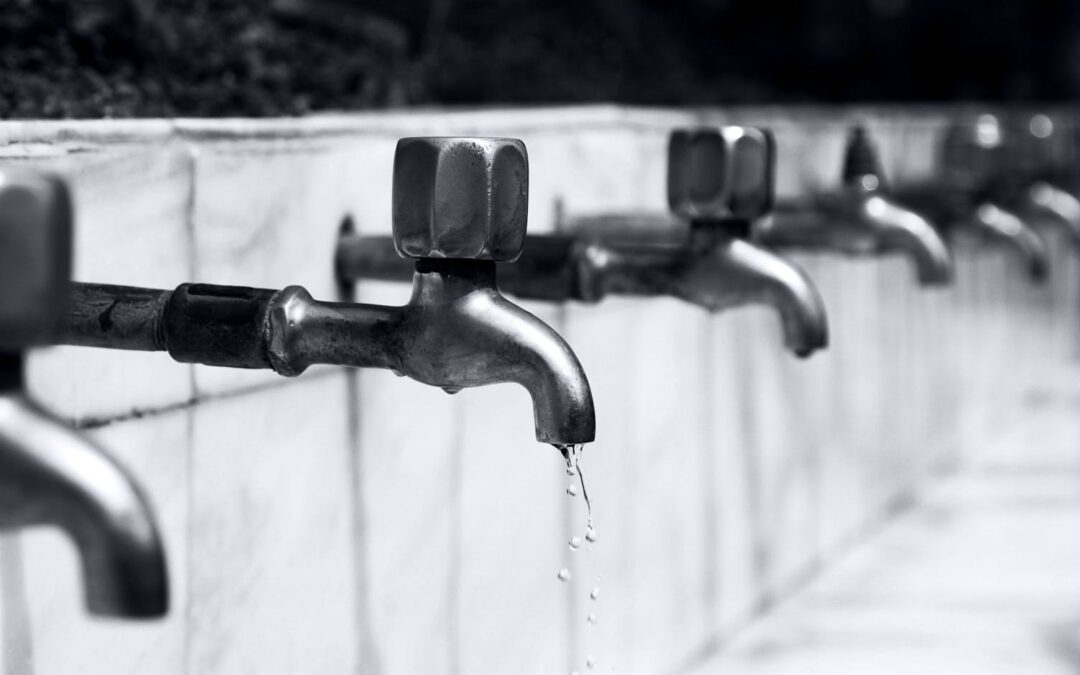
Two-handled bathroom faucets are another popular option. This type of faucet most commonly has two separate spouts side by side and two handles: one for hot water and the other for cold water. The handles can be mounted to the wall above the sink and the countertop itself, or they may fit between the two spouts of the fixture.
Shower-Only Fixtures
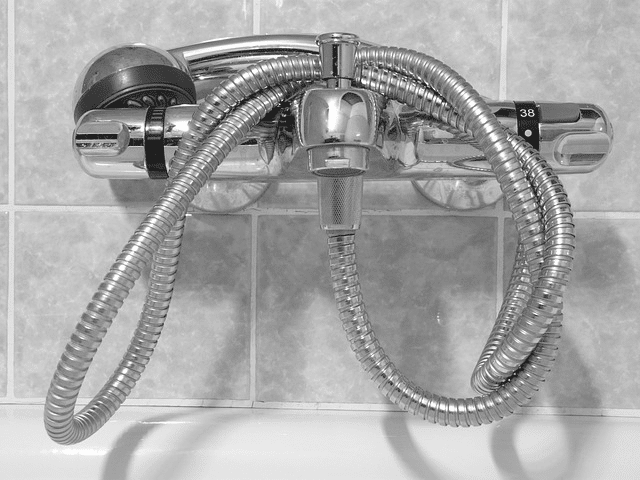
Finally, shower-only fixtures are also designed to be mounted directly onto your shower wall rather than on top of a sink deck or countertop. These units will typically have either one handle or two, depending on how much power you want from your showerhead and how much control you want over adjusting temperature settings. Shower-only fixtures tend to be constructed from stainless steel for durability and longevity, even in moisture-rich environments such as bathrooms and showers.
Faucets need to be maintained regularly to help prevent leaks and other issues. Luckily, the maintenance and fixing are easy, and you can DIY.
How To Fix A Leaky Bathtub Faucet
Depending on the type of bathtub faucet you have, there are different ways to fix a leak. In this section, we’ll discuss how to fix a leaky single-handled and two-handled bathtub faucet and shower-only fixtures, but first, let’s take a look at the tools you’ll need.
What You’ll Need
- Adjustable wrench
- Allen wrench
- Socket wrench
- Pliers
- Seat wrench
- Phillips-head screwdriver
- Flathead screwdriver
- Faucet screw
- Washer screw
Instructions
How To Fix A Leaky Single-Handled Faucet
- Turn off the water supply: To do this, look for the shut-off valves under the sink and turn them clockwise until they are completely closed.
- Remove the faucet handle: Use a screwdriver to remove the screw that holds the handle in place. Once the screw is removed, pull the handle off the faucet.
- Remove the cartridge: Use pliers to remove the cartridge from the faucet body. This may require some force, so be careful not to damage the faucet or the cartridge.
- Inspect the cartridge: Check the cartridge for damage, wear, or debris causing the leak. If you see any problems, replace the cartridge.
- Replace the O-rings: If the cartridge looks fine, check the O-rings around the cartridge. These are small rubber rings that seal the cartridge to the faucet body. If they are worn or damaged, replace them with new ones.
- Reassemble the faucet: Put the cartridge back into the body, then reattach the handle and screw. Turn the water supply back on and test the faucet for leaks.
- Tighten the packing nut: If the faucet still leaks, you may need to tighten the packing nut. This is a hexagonal nut located just below the handle. Use pliers to tighten the nut slightly, then test the faucet again.
How To Fix A Leaky Two-Handled Faucet
- Turn off the water supply: Before you begin, turn off the water supply to the faucet. Look for the shut-off valves under the sink and turn them clockwise until they are completely closed.
- Remove the faucet handles: To remove the handles from a two-handled faucet, you may need to use a flathead screwdriver or an Allen wrench. Unscrew and remove both handles from the faucet body.
- Inspect the cartridges: Check both cartridges for any damage or wear that could be causing a leak. Replace any damaged or worn parts with new ones.
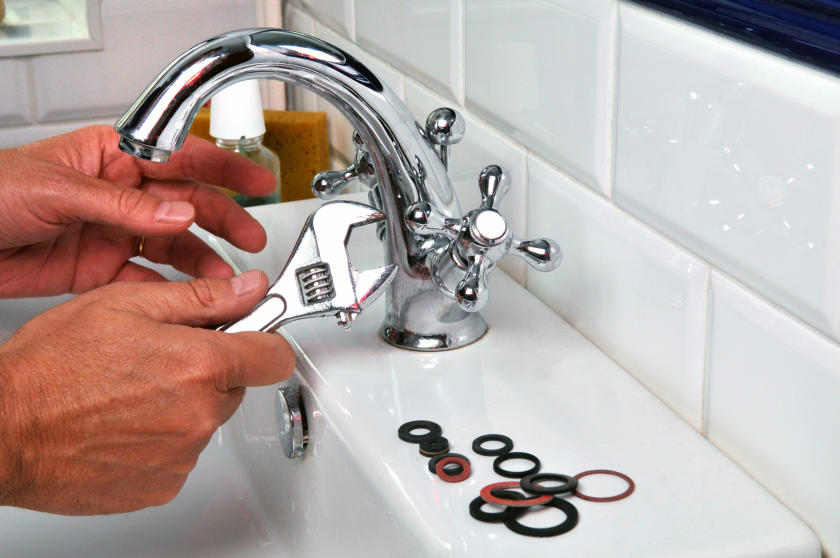
- Replace the old seat washer and screws: If the cartridges look fine, it’s time to replace the old seat washer and screws. Use a seat wrench to remove the worn washer and screws from the faucet body, then install new ones.
- Tighten connections: After replacing all of your parts, use an adjustable wrench to tighten the connections to ensure everything is secure and snug in place. This step is essential in preventing future leaks!
- Reassemble your faucet: Now it’s time to reassemble your two-handled faucet! Place each handle back onto its stem and tighten it with a screwdriver or Allen wrench. Make sure all connections are tight before turning on your water supply again!
- Test for leaks: Turn on your water again, then test your newly fixed two-handled faucet for any leaks by running it through its full range of motion (hot to cold) several times. If there are no leaks, you have successfully fixed your leaky two-handled faucet!
How To Fix A Leaky Shower-Only Fixture
- Please turn off the water supply to the shower: Before you start working on your leaky shower-only fixture, it is important to turn off the water supply to the shower. This can be done by turning off the water supply valve in the main supply line.
- Remove the shower handle and escutcheon plate: Remove the shower handle and escutcheon plate to access the valve. This can usually be done by unscrewing the screws that hold them in place.
- Use pliers or a wrench to loosen the retaining nut: Once you have access to the valve, use pliers or a wrench to loosen the retaining nut that holds the valve cartridge. This nut is usually located just behind the escutcheon plate.
- Remove the valve cartridge and inspect it for any damage or wear: After removing the retaining nut, you can pull the valve cartridge out of the valve body. Inspect the valve cartridge for any signs of damage or wear.
- Replace the valve cartridge with a new one if necessary: If the valve cartridge is damaged or worn, it will need to be replaced. You can purchase a replacement valve cartridge from your local hardware store.
- Reinstall the retaining nut and replace the escutcheon plate and shower handle: Once the new valve cartridge is in place, reinstall the retaining nut and replace the escutcheon plate and shower handle.
- Turn on the water supply and test the shower for leaks: After you have reassembled the shower fixture, turn on the water supply and test the shower for any leaks. If there are no leaks, your job is complete.
- Check the connections and tighten them if necessary: If there are still leaks, check them and tighten them. Make sure all the connections are tight and secure.
No matter what type of bathtub faucet you have, following these simple steps should help you fix a leaky faucet quickly and efficiently so that you can get back to enjoying a consistent look throughout your entire bathroom suite.
DIY Vs. Professional Fix For Leaky Faucet
When deciding whether to try and fix a dripping faucet yourself or hire a professional plumber, there are several factors to consider. DIY repair can save you money in the short term, but if you need the right tools or experience, it can also damage your plumbing.
On the other hand, hiring a professional plumber will guarantee you get an expert job done right the first time and may save you time and money in the long run. If you tackle a leaky tub spout repair yourself, there are some important tips to keep in mind.
As mentioned before, having all the necessary tools, such as an adjustable wrench, socket wrench, pliers, seat wrench, Phillips-head screwdriver, flathead screwdriver, and any replacement parts, is key for DIY success.
Additionally, familiarizing yourself with how each type of bathtub faucet should be fixed (single-handled vs. two-handled) is crucial for preventing mistakes that could lead to more extensive damage in the long term.
Hiring a professional plumber for this type of repair generally costs between $150-$300 depending on the repairs needed and can last from 1-3 hours, depending on how complicated your particular repair needs are.
And remember that most professional plumbers offer warranties on their services and free estimates, which can be helpful when trying to decide whether it’s worth repairing yourself or not.
Conclusion
Knowing how to DIY fix minor plumbing issues like leaky faucets can save you both time and money in the short term. However, depending on the extent of the damage, it may be more cost-effective to hire a professional plumber to ensure that your repair is done correctly and will last for years to come.
Be sure to familiarize yourself with each type of bathtub faucet before attempting repairs, have all the necessary tools, and get an estimate from a plumbing contractor if you are considering hiring one. Following these tips, you can successfully tackle most minor plumbing issues without calling a professional.
Sort All Of Your Plumbing Problems With MD Sewer & Plumbing
MD Sewer and Plumbing makes it easy to sort out any issue with your faucet. Our team of expert plumbers will inspect each stem assembly for signs of damage or wear and tear that might be causing a leak and replace them as necessary.
We also have all the necessary tools and replacement parts to ensure that any repairs are done correctly the first time around. For more information about our plumbing services, contact us today.

