Installing a kitchen sink drain may seem like a daunting task, but with the right tools and instructions, it can be a breeze. In this guide, we will walk you through the steps of kitchen sink drain assembly.
Required Tools
To be able to install your kitchen sink drain, you will need the following tools:
- Pipe wrench
- Screwdriver
- Slip pipe joint pliers
- Adjustable wrench
- Putty knife
- Measuring tape
- Level
- Pipe cutter (optional)
- Teflon tape (optional)
- Hacksaw (optional-If your drain assembly does not come with predrilled holes)
Kitchen Sink Drain Assembly Instructions

Schedule Service Online
Get a free estimate so you know what you're signing up for
"*" indicates required fields
For Emergency Services Call: 410-255-9300
Now that you have gathered the required tools, it is time to get started on installing your kitchen sink drain. Follow these steps, and you will have your kitchen sink drain installed in no time!
Before you begin, gather all of the necessary tools. The tools you would need are listed above.
Step One: Check The Height Of The Drainage Outlet
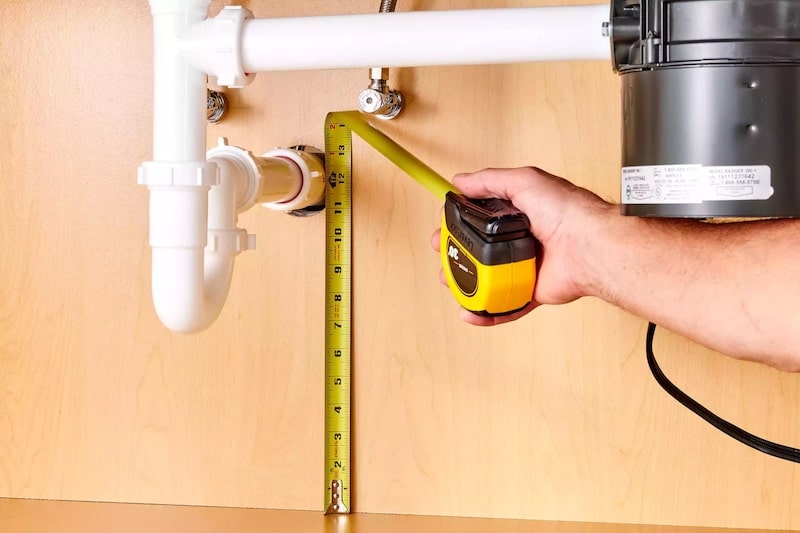
Most kitchen sink drains are about 12 inches from the bottom of the sink to the center of the drain hole. If your kitchen sink is a different height, you may need to adjust the length of the drain pipe.
Step Two: Disconnect The P-trap

Disconnect the P-trap from the drain pipe (The P-trap is the U-shaped pipe that is located under the sink). To do this, use a pipe wrench to loosen the slip nuts that are connecting the P-trap to the drainpipe. Once the nut is loosened, you should be able to pull the P-trap away from the drain line. Then set it aside.
Step Three: Remove The Old Drain

Remove the old kitchen sink drain by unscrewing it from the top of the sink. You may need a screwdriver to unscrew the screws that are holding the drain in place. Once you have removed the screws, lift up on the drain and pull it out from under the sink.
Step Four: Remove Old Putty And Apply A New One
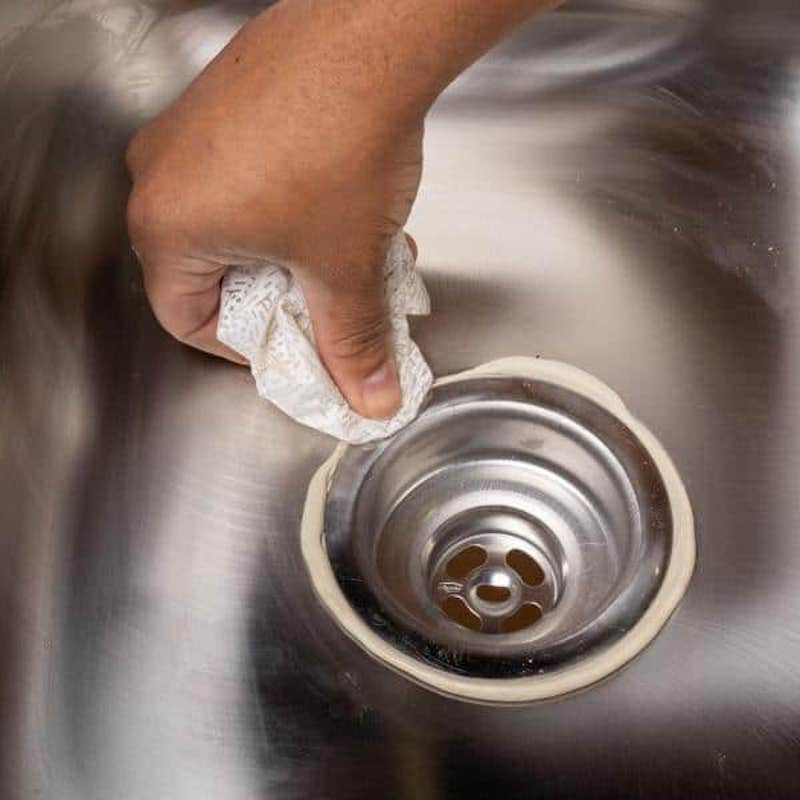
Putty is a malleable, clay-like compound that creates a watertight seal for your kitchen sink strainer and rubber gasket. To add a new one, use a putty knife to remove any old putty that is around the drain opening. Be sure to get rid of all traces of the old putty, as this will ensure a tight seal when you apply the new putty.
Once the old putty has been removed, it is time to apply the new putty. Take a small amount of plumber’s putty and form it into a rope. Wrap the rope of putty around the drain opening, making sure to cover the entire circumference.
Step Five: Insert Drain Assembly
Now it is time to insert the drain assembly into the drain hole. For this step, you may need someone to help you hold the drain assembly in place as you screw it into the sink. Start by placing the basket strainer into the drain hole.
The basket strainer should fit snugly into the hole. If it is a little loose, you can apply some plumber’s putty around the edges of the basket strainer to help secure it in place. Next, take the drain body and thread it onto the basket strainer.
Make sure that you are hand-tightening the drain body so that you do not damage the threads. Once the drain body is threaded onto the basket strainer, use a wrench to tighten it in place.
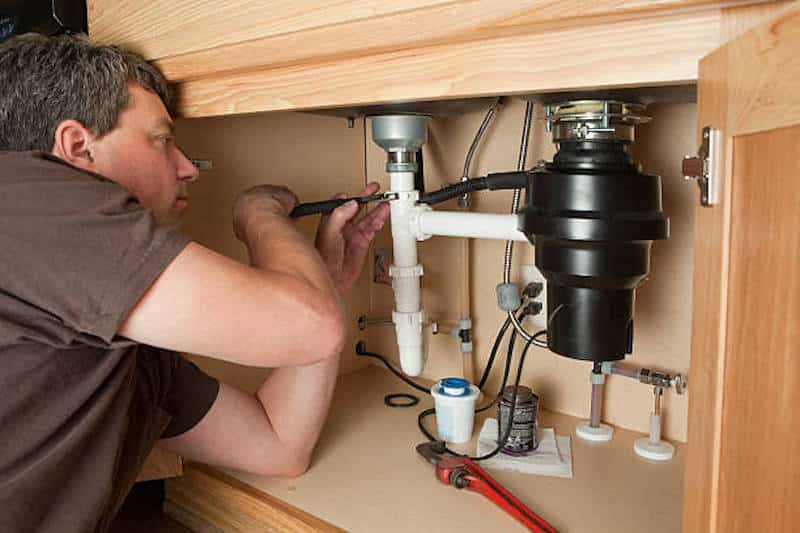
Step Six: Connect The P-trap
Now it is time to reconnect the P-trap to the drain pipe. To do this, take the P-trap and line it up with the drainpipe. Once it is in place, use your hands to twist it until it is tight. Then, use a pipe wrench to tighten the slip nuts that are holding the P-trap in place.

Final Step: Test The Drain By Checking For Leakages
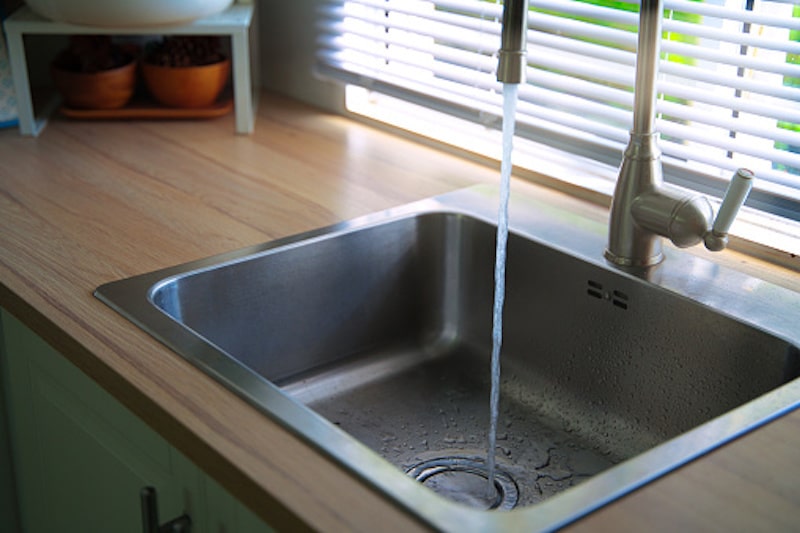
Now that the kitchen sink drain assembly is installed, it is time to search for leaks. Turn on the water and let it run for a few minutes. Check all of the connections to ensure that there are no leaks. If everything looks good, then congratulations! You have successfully installed your kitchen sink drain assembly.
Tips On Installing A Kitchen Sinks Drain
You’re well on your way to installing a kitchen sink drain! All that’s left are a few final steps to ensure a proper, leak-free seal. Here are some tips to help you finish the job:
1. Ensure you use putty. Apply a small amount of plumber’s putty to the underside of the drain flange. This will help create a watertight seal.
2. Be careful with plastic parts. If your sink drain has any plastic parts, be careful not to over-tighten them. Overtightening can cause the plastic to crack or break.
Need Plumbing Services In Maryland? Contact Us
We hope these tips have been helpful as you install your kitchen sink drain. If you need any assistance along the way, or if you’re in need of plumbing services in Maryland, contact us at MD Sewer And Plumbing! We’re happy to help however we can.