When you’re remodeling your bathroom, one of the most important things to get right is the plumbing. If you don’t have a lot of experience with plumbing, it can be tricky to know how to set up the shower correctly.
In this blog post, we’ll show you how to plumb a shower so that it’s properly waterproof and functions well. We’ll also give you some tips on how to avoid common mistakes that people make when plumbing a shower. Let’s get started!
Understanding A Standard Home’s Plumbing System
Before diving into the shower installation process, it is essential to consider your home’s plumbing network. Ordinarily, a standard plumbing system comprises a network of pipes, mostly hidden walls and under floors, that deliver water to fixtures and removes waste from the building. This water is usually under pressure, so it flows to all the pipes and fixtures quickly.
Schedule Service Online
Get a free estimate so you know what you're signing up for
"*" indicates required fields
For Emergency Services Call: 410-255-9300
There are different types kinds of pipes in your plumbing system. The pipe that delivers water is called the main supply line, while the drain pipe takes away wastewater. Asides from these two, there is also the soil stack. The soil stack is the pipe that connects all the home’s drains and carries wastewater to the sewer line. This drain system leads to the sewer main beneath the house, which conducts waste and wastewater to the city’s sewer under the street.
Shower Plumbing Overview
Now that you know how a home plumbing system works, it is time to focus on how to plumb a shower. You first need to know how your bathroom is currently plumbed. If you have a bathroom on the second floor, the job will be more challenging than working in a ground-level bathroom.
Every bathroom has a toilet and a sink, and many also have a bathtub and a separate shower stall. The drain system for these fixtures discharges waste and wastewater into a larger drain pipe beneath the bathroom floor. These drain pipes connect to a vertical ventilation stack in the wall, which enables the needed airflow for the waste to flow downward. The other end of the drain line then leads to the sewer main.
The supply pipes for each bathroom fixture are also located in the walls and beneath the floor. The water main is the primary source of water pressure for the entire plumbing system. It leads to a shut-off valve, which is usually located near the water meter. From there, you can find a cold water pipe and a hot water pipe that branch off to supply each bathroom.
Essential Tools And Materials For Plumbing A Shower
There are a few essential tools needed to plumb a shower. These include:
- Hacksaw or a pipe cutter
- Hammer
- Chisel
- Screwdriver (preferably an electric one)
- Drill
- Measuring tape
- PTFE tape
- Plumbers putty
- Wrench
- Pipe cutter
- Screws
- Level
- Adjustable wrench
- Allen key
- Crimping tool
- Hole saw
In addition to these tools, you will also need some materials. These include:
- Copper or PVC pipes
- Pipe hangers
- Nails
- Washers
- Valves (ball, stop, and pressure-reducing)
- Supply lines
- Drainage pipe
- Shower Head
- Faucet
- Four threaded pipe adapters
- Silicon sealant
- PEX shower tubing
- Caulking gun
- Sealant tape
This is a comprehensive list of all the tools and materials that will make your shower installation process easier.
Shower Installation Process
A standard shower system is divided into three parts: the shower faucet, shower head, and drainage. The installation process of each part is different, so we will go over each separately.
The Shower Faucet
A shower faucet, commonly called a “shower head,” is a type of bathroom hardware fixed to the edge of the shower or the bathroom wall and operates as a water inlet for the shower. A shower faucet typically comprises the shower valve or valves (Diverter, Pressure Balance, and Thermostatic), and the Trim.
The valves are the working part of the shower faucet that regulates water flow and temperature, while the Trim is the external aesthetic of the shower faucet that consists of the external handle and is manually used to turn the shower on and off, also to control the metal ring that surrounds it.
There are many different types of shower faucets, but they all have the same purpose: to bring water into the shower. The most common type is the Wall-mounted shower faucet, which is attached to the wall with screws. Another popular type is the Floor-mounted shower faucet, which is attached to the floor with a bracket.
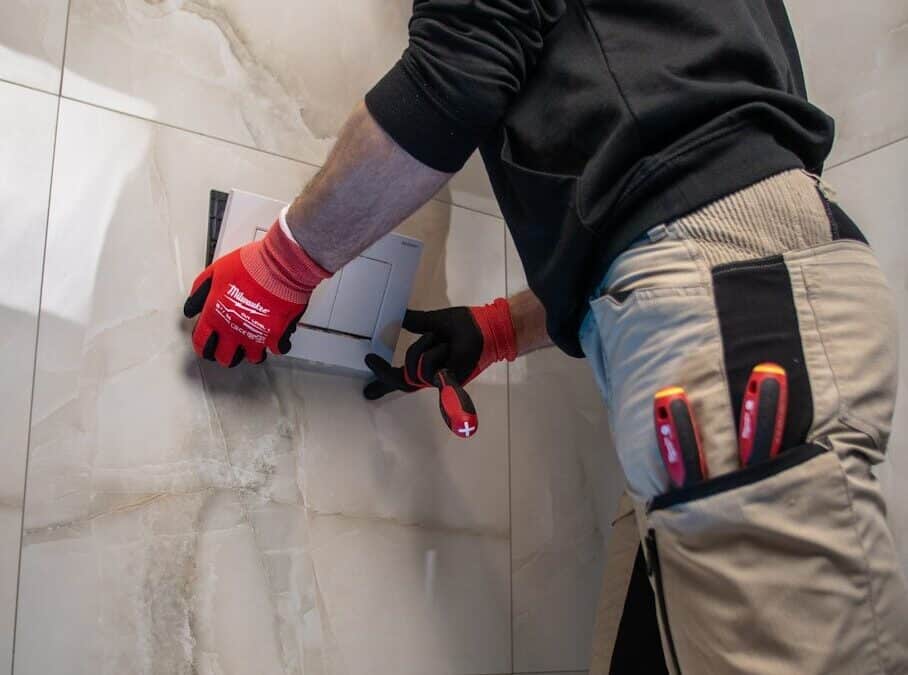
Installing The Shower Faucet
- Turn Off Water Supply: The first step is to turn off the water supply to your bathroom. Once that is done, open the shower faucet to release any residual water pressure in the lines.
- Remove Old Shower Faucet: Use a wrench to remove the old shower faucet. If there is any caulking or sealant around the base of the faucet, use a putty knife to remove it. Once the old faucet is removed, you should be able to see the water supply lines and the drainage pipe.
- Mark The Faucet Spot: Use a pencil to mark the spot where you will drill the holes for the new faucet. Make sure the marks are level and evenly spaced, then drill the pilot holes at the marked spots. However, be careful not to drill too deeply, as you don’t want to damage the pipes.
- Install The Mixing Valve: The next step is to install the mixing valve. This is a valve that controls the water temperature. It is usually located behind the shower faucet. To install it, screw it into place with a wrench.
- Connect Vertical Column: Also connect the vertical column, which is the pipe that goes from the mixing valve to the shower head. To do this, screw the adapter onto the mixing valve. Then, connect the vertical column to the adapter using a wrench
- Install Handle: The last step is to install the shower handle. To do this, screw the handle onto the vertical column. Make sure that it is tight so that there is no water leakage.
- Testing The shower Faucet: Once everything is installed, turn on the water supply and test the shower faucet to ensure no leaks. If everything is working properly, then you’re done.
The Shower Head
A shower head is a plumbing fixture installed in a shower to deliver water to wash oneself.
Installing the Shower Head
Installing the shower head is not as complicated as the shower faucet. To do this:
- Mark The Height: You should first mark the height where you want the shower head installed. It is vital to do this so that the shower head will be at a comfortable height for you when using it. Then drill the holes to put a cross-stud at shower head height.
- Install The Shower Arm: The next step is to install the shower arm. This is the pipe that connects the shower head to the water supply. To do this, screw it into place with your wrench.
- Connect The Shower Head: The last step is to connect the shower head to the shower arm.
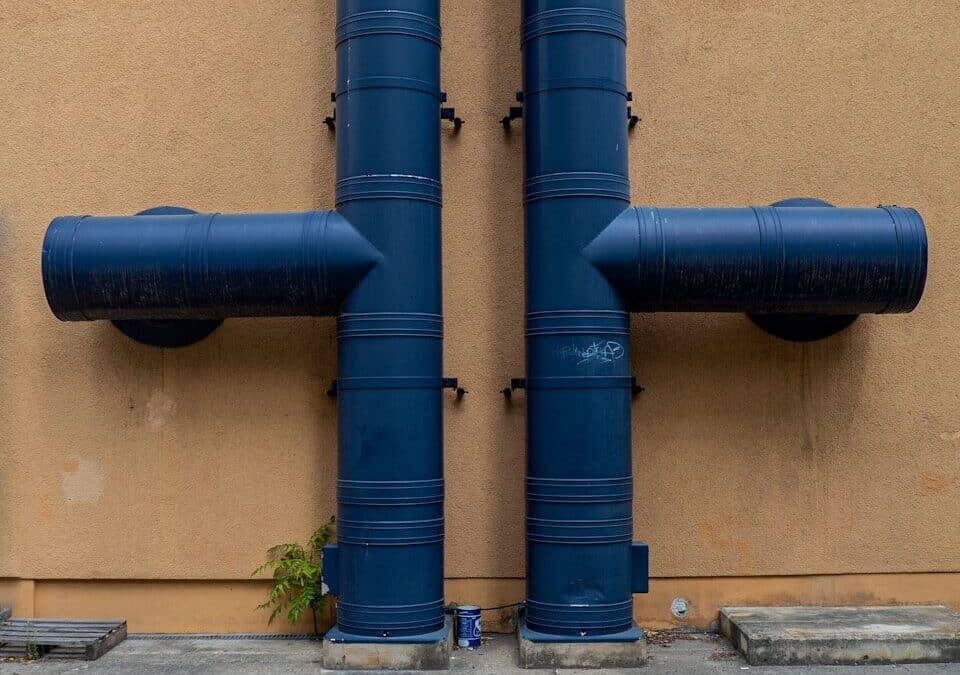
Shower Drainage
Shower drainage is basically how the water from your shower is drained away. The most common type of shower drain is the floor drain, which is located in the shower pan or floor. Also, there are different types of shower drains. Some of them include:
CompressiON TYPE SHOWER Drains
For compression-type showers, the drain is connected to the drain pipe with a rubber gasket and held in place with a metal ring. To install this type of drain, trim the drain pipe, then attach the drain assembly. Finally, position the shower base and insert the compression gasket.
Solvent-glued Drains
For solvent-glued drains, the drain is connected to the drain pipe with a solvent-welded hub. To install this type of drain, adjust the drainpipe and prepare the drain assembly. Then, insert the upper body of the drain assembly, secure the drain assembly, and solvent-glue the drain pipe.
Tiled Drains
The tiled shower drains are installed after the tile is laid. To install this type of drain:
- Install the bottom flange of the shower drain into the drainpipe through solvent gluing.
- Insert the middle flange of the drain fitting over the liner and drain opening using bolts.
- Attach the drain strainer assembly to the drain.
Conclusion
As you can see, plumbing a shower is not as difficult as it may seem. With the right tools and a little bit of know-how, you can easily install a shower plumbing system in your home. If you’re still not confident in your abilities or run into any problems along the way, be sure to contact a professional plumbing service.
Need High-Quality Plumbing Services?
Looking for professional plumbing services? Well, you’re in luck! We are plumbing professionals who have been providing reliable sewer and plumbing services in Pasadena, Glen Burnie, Linthicum, Annapolis, Baltimore, and surrounding areas since 1985.
We have the latest tools and equipment to handle any repair or maintenance job. And our team of highly skilled and licensed professional plumbers is always available to offer 24/7 emergency service for our wonderful clients. Kindly contact us today for all your plumbing needs and access amazing discounts on our already affordable services.