Have you ever wondered how to fix a leaky outdoor faucet?
If you’ve spotted a leak in your outdoor faucet, it’s crucial to address the issue before it results in wasted water or, worse, damage to your property.
Commonly caused by worn-out components, a leaky outdoor faucet is a problem you can often solve without professional plumbing costs.
Schedule Service Online
Get a free estimate so you know what you're signing up for
"*" indicates required fields
For Emergency Services Call: 410-255-9300
In this guide, we’ll walk you through the steps you need to take to fix that persistent drip, ensuring you’re confident in tackling this home repair yourself.
Remember, with a little know-how and determination, many plumbing-related tasks can be straightforward and rewarding.
What is an Outdoor Faucet?
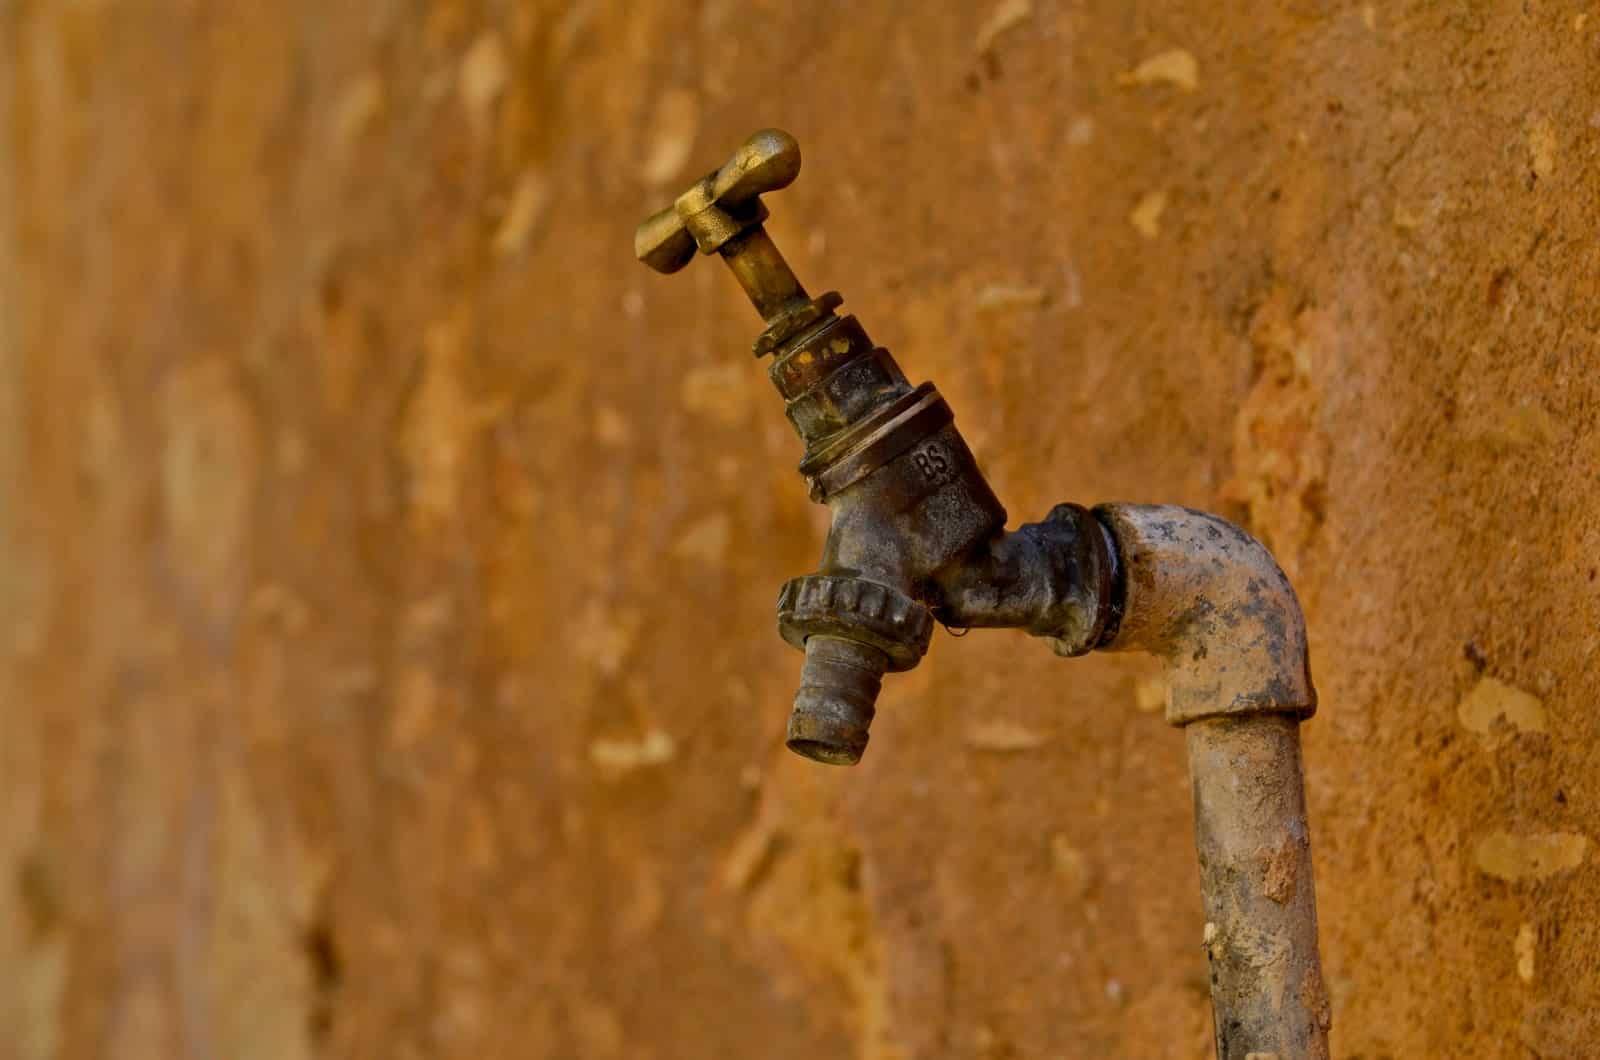
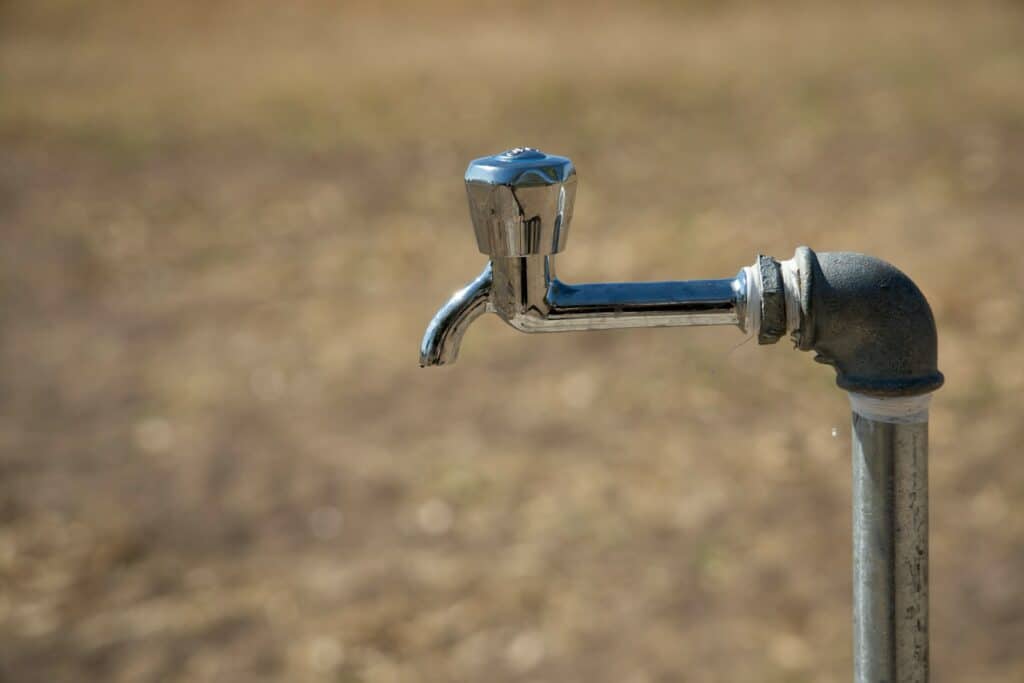
An outdoor faucet, also known as a spigot or hose bibb, is a valve that controls the flow of water outside of a house or building.
It is typically mounted to the exterior wall and connected to the property’s main water supply line. Even an outdoor faucet is connected to your water meter, so if you have a leaky spigot, your water bill is likely increased.
They differ from indoor faucets in durability, often made to withstand harsh weather conditions and temperature changes. Additionally, many feature a threaded spout allowing the attachment of a hose for more convenient water distribution and usage around the property.
Common Causes of an Outdoor Faucet Leak
Understanding the common causes of an outdoor faucet leak is crucial for every DIY repair enthusiast. Primarily, the wear and tear of internal components such as washers, O-rings, and seals is a significant contributor to most faucet leaks.
Over time, these parts can become worn out or degraded, leading to water escaping through gaps that should otherwise be sealed. Another typical cause is a build-up of sediment and mineral deposits inside the faucet, which can prevent proper closure and cause dripping.
Additionally, exposure to extreme weather conditions, especially freezing temperatures, can cause cracks in the faucet body or the piping, leading to leaks. Identifying the root cause of the leak will aid in applying the correct fix, ensuring a long-term solution to the problem.
Spot and Stop the Drip: Identifying the Leak
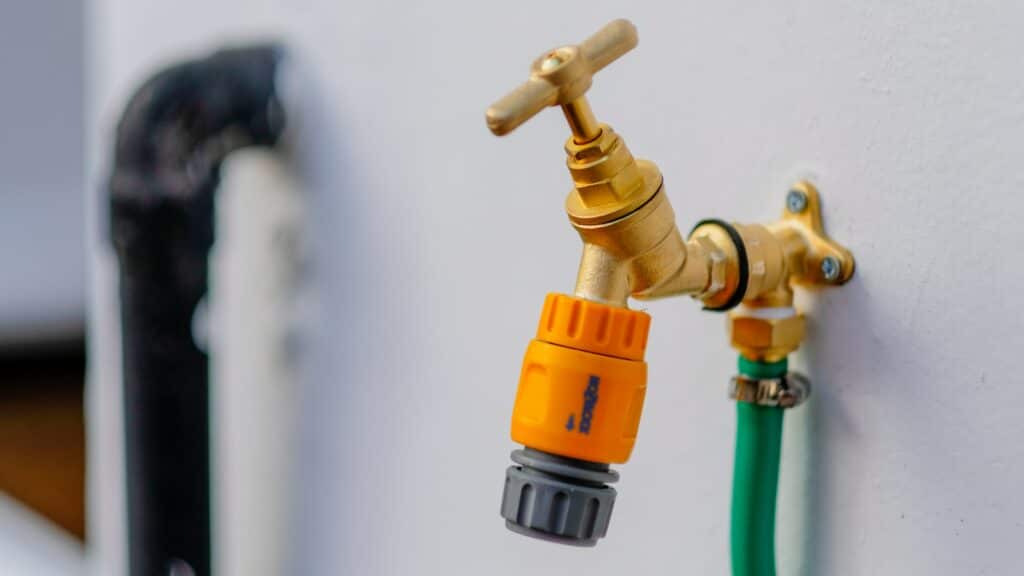
Before you start grabbing your tools, the first step is to identify that you indeed have a leaky faucet. Common signs include a steady, slow drip when the faucet is turned off or an inability to completely shut off the water flow.
Sometimes, the leak may occur at the handle or the point where the faucet meets the wall, leading to visible water pooling around the fixture. Once you’ve confirmed these signs, it’s time to investigate the severity of the issue.
Inspect your faucet thoroughly by turning it on and off a few times, checking for motion in the handle, spigot, and any visible leaks. Often, corrosion and mineral buildup freeze proof faucetcan lead to leaks, so a closer inspection might reveal what exactly is causing the problem.
This is also a good opportunity to check the overall condition of your faucet, noting any other potential issues that might need attention in the future.
Equipped with the Essentials: Gathering Your Tools
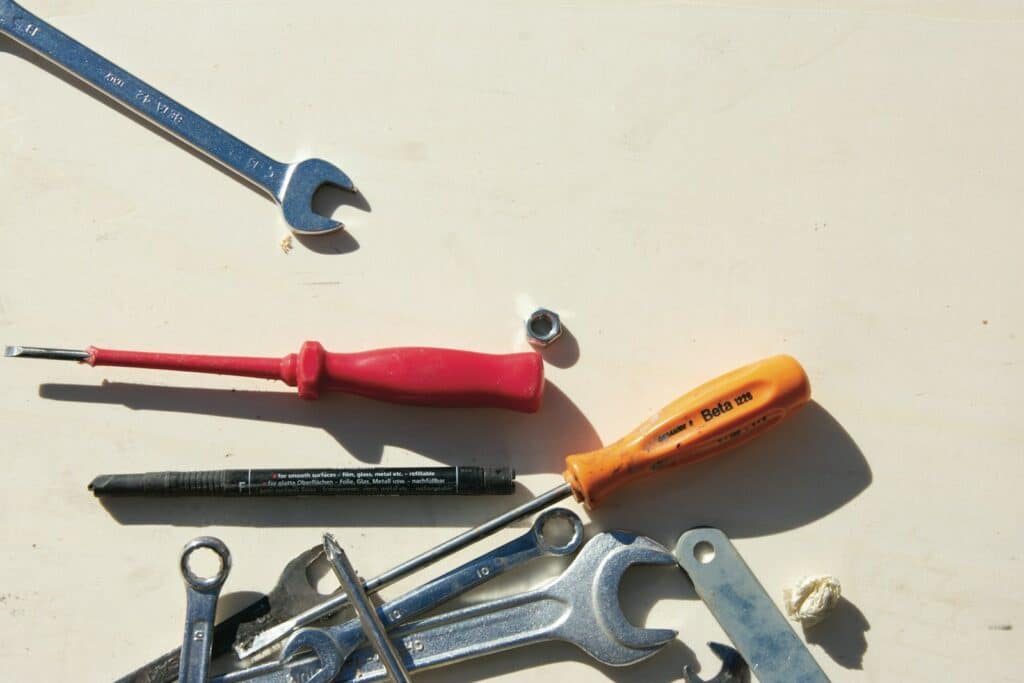
Ensuring you have the right tools for an exterior faucet repair is essential to a smooth repair process. For fixing a leaky outdoor faucet, you’ll typically need:
- Adjustable wrench
- Screwdrivers (Phillips and flathead)
- Pliers
- Replacement washers, O-rings, or entire faucet assemblies, depending on the issue
- Pipe tape or joint compound, for reassembly
Having these items at hand will prevent unnecessary trips back and forth to local hardware store for your toolbox and ensure you can tackle the repair head-on.
The Vital Step: Shut Off the Water Supply
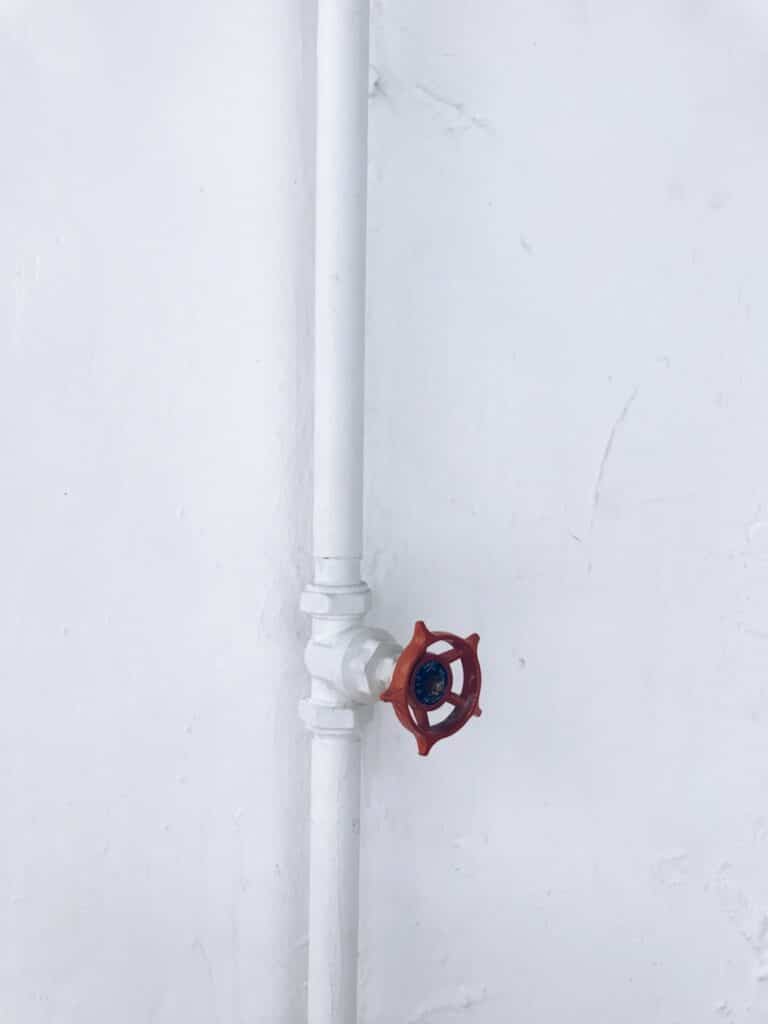
Nothing is more vital than turning off the water supply before you start disassembling your faucet. This step is crucial in preventing water from gushing out when you remove the parts and making repairs impossible due to the continuous flow.
In most cases, outdoor faucets have a separate water shut off valve located inside the home, typically in the basement, on a utility wall, or in a crawl space.
Once you’ve located the shutoff valve, turn the faucet handle around clockwise to shut off the water. Be sure to open the outside faucet to drain any remaining water in the line before moving on to the next step.
The Anatomy of a Faucet: Disassembly Done Right
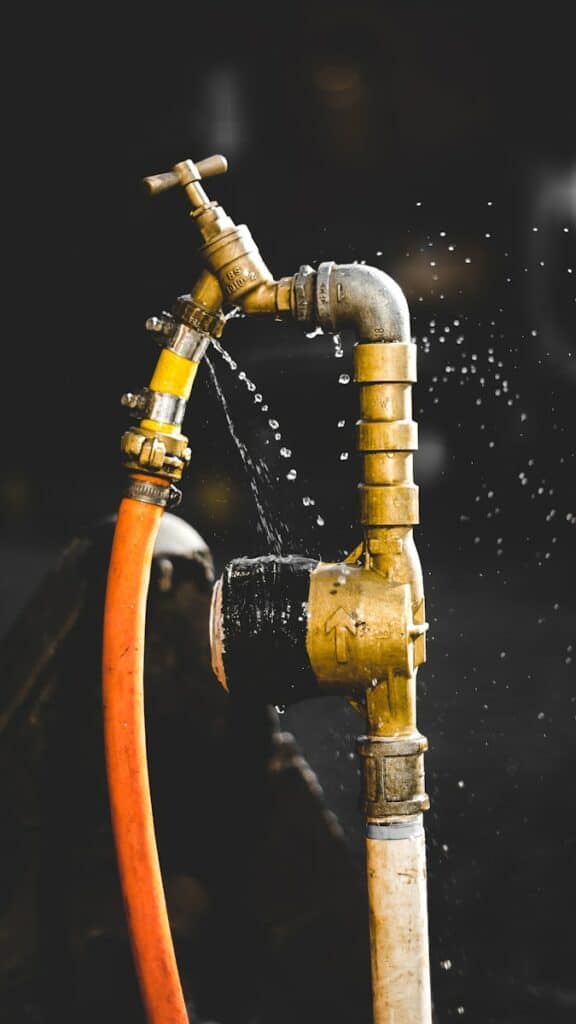
To properly fix your outdoor faucet, it’s important to understand how it’s all put together. Most outdoor faucets consist of four main parts – the handle, stem, packing nut, and seat washer.
Turn the handle to the “on” position to relieve any water pressure still in the line and start by removing the handle screw using the appropriate screwdriver. Once the handle is off, use your wrench to loosen and remove the packing nut, exposing the stem.
The stem is often screwed in and can be removed with a counterclockwise turn. Inspect the stem, noting the condition of the O-ring, seat, washer assembly, and any other components.
If the stem appears worn or damaged, a complete replacement might be necessary. For minor issues or leaks occurring at the handle connection, reseating or changing the washer will usually suffice.
Replacement and Reprieve: Fixing the Faucet
With the offending parts removed, it’s time to replace or repair as necessary. If the stem is in good condition, check the seat rubber washer for wear. If you find a worn out washer and decide to replace it, use a flathead screwdriver to pop off the old washer and install a new one in its place, and make sure it’s the same size!
Make sure the new washer is an appropriate fit and is neither too tight nor too loose, which can cause leaks.
For damaged O-rings, remove the old one from the stem and slide on a replacement, ensuring it’s seated correctly in its groove. If the valve stem or other components show signs of damage, a trip to the hardware store for a replacement might be in order. If you have to fully replace your faucet, consider getting a freeze proof faucet!
Apply pipe tape or joint compound to the threads of the stem before reinserting it to create a tight seal during reassembly.
Test the Waters: Reassembling and Checking for Leaks
Reassembly is the reverse of disassembly. Begin by returning the stem to its housing, making sure to thread it in straight to avoid cross-threading, which can cause leaks.
Tighten the packing nut, replace the water tight seal and handle, secure with the screw, and turn the water back on.
With the water running, check for any signs of leaks at the handle, the faucet stem, or the point where the faucet meets the wall. Pay close attention for drips and tighten any connections as required.
Once you’ve verified that the faucet is leak-free, turn it off and check again. Sometimes, newly installed components need a moment to settle before a complete seal is achieved.

Call in the Experts When in Doubt
Remember, there’s no shame in seeking professional help. If you’re unsure about any part of the repair, or if the leak persists after your best efforts, it’s best to call a plumber. They can apply specialized knowledge and tools to diagnose and fix the issue correctly, potentially saving you time and headaches in the long run.
Additionally, if you’re noticing more widespread plumbing problems or if you have any doubts about your home’s plumbing system, the trained eye and experience of a professional can prevent a small problem from becoming a larger, more costly repair.
If you’re struggling with a leaky outdoor faucet and need a professional, don’t hesitate to reach out to us at MD Sewer and Plumbing. Our team of experienced plumbers is equipped with the tools and knowledge necessary to diagnose and solve your problem efficiently, ensuring a long-lasting fix.
Whether it’s a simple washer replacement or a more complex issue, we’re here to help. Contact us today to schedule your service and put an end to that troublesome leak.
How To Fix A Leaky Outdoor Faucet | A Drip in Time Saves a Flood of Troubles
Fixing a leaky or leaking outdoor faucet yourself can be a rewarding experience, saving you money and the satisfaction of knowing you can handle minor plumbing repairs.
By following the steps outlined in this guide, you’ll not only repair your leaky faucet but also gain valuable knowledge that can be applied to other DIY projects around the home.
Remember to always prioritize safety and caution, and don’t hesitate to reach out to a professional when needed.

