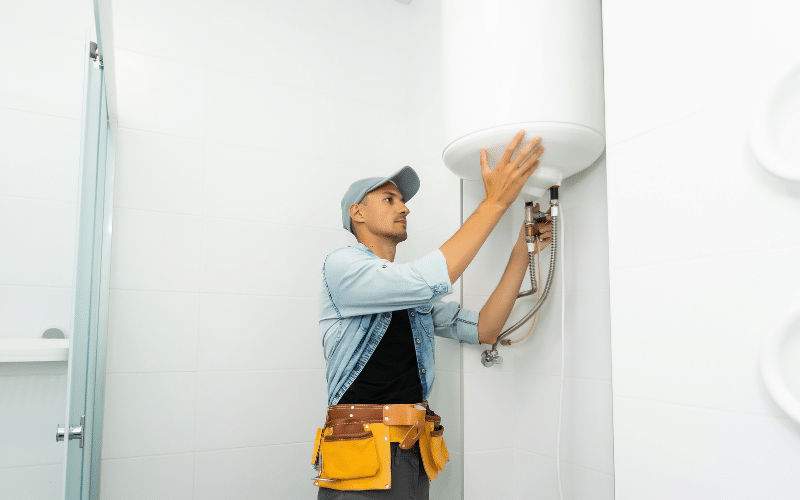
Do you know how to flush a water heater?
Ever noticed your hot water running out quicker than usual or the water not being as hot as it used to be? These might be signs that it’s time to give your water heater a good flush. For homeowners, DIY enthusiasts, and green living advocates, understanding how to maintain your hot water heater is not just smart—it’s necessary. In this guide, we’ll walk you through the entire process of flushing a water heater. You’ll learn what tools you’ll need, the steps involved, and why regular maintenance is crucial for efficiency and longevity.
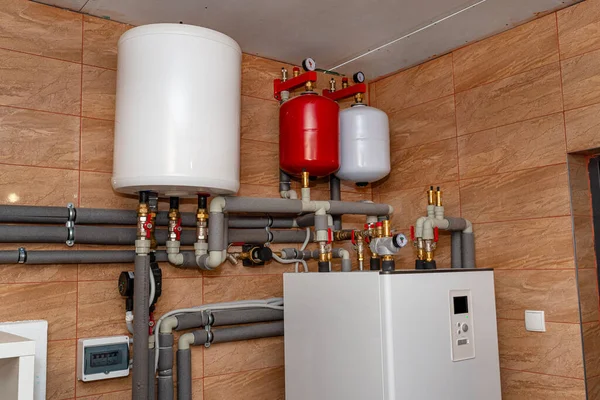
Schedule Service Online
Get a free estimate so you know what you're signing up for
"*" indicates required fields
For Emergency Services Call: 410-255-9300
Why Your Water Heater Needs Regular Flushing
Sediment builds up in the bottom of the tank over time. This build-up can cause a variety of problems, from reduced efficiency to potential damage. When mineral deposits accumulate, they act as a barrier between the heating elements and the water, making your heater work harder and consume more energy. By flushing your water heater, you remove these deposits and keep your unit running efficiently.
Flushing is not just about efficiency but also about extending the life of your water heater. Regular maintenance like this can prevent costly repairs. For homeowners looking to reduce their environmental footprint, a well-maintained water heater uses less energy, which is a win for both your wallet and the planet.
You don’t have to be a professional to flush your water heater. While it’s always possible to call a reliable plumber, with our step-by-step guide, you can tackle this task confidently and efficiently.
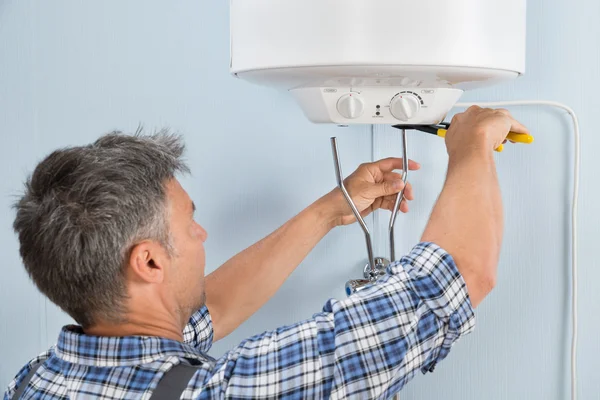
Understanding Your Water Heater
Before you begin, it’s essential to get acquainted with the ins and outs of your water heater. There are generally two types of heaters—gas water heaters and electric water heaters. Knowing which one you have will help you follow the right steps in the flushing process.
The main components you’ll interact with include the cold water supply valve, the drain valve, and the pressure relief valve. The cold water valve controls water flow into the tank. The drain valve is used to remove water and sediment, and the pressure relief valve ensures the tank doesn’t become over-pressurized.
Whether you have a gas hot water heater or an electric unit, the basic principle remains the same. Understanding these components will help you manage the procedure with ease and confidence.
Gathering Your Tools and Supplies
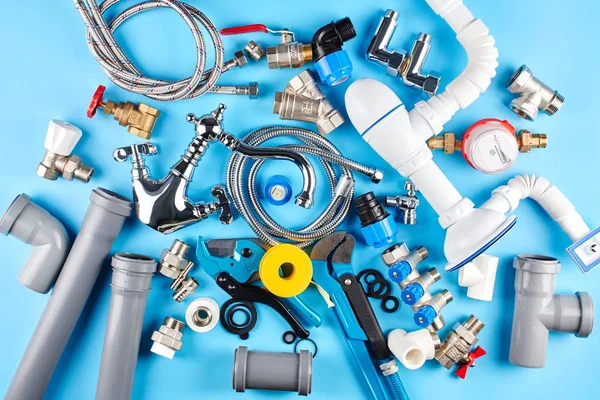
To flush your water heater, you’ll need a few basic tools and supplies. A garden hose is essential for draining the water. You’ll also need a bucket or bowl to catch any drips and a towel to clean up any spills. It’s helpful to have a wrench on hand for stubborn valves and a vacuum for any remaining sediment.
Having all your tools ready before you start will make the process smoother. It eliminates the need to stop halfway through to find something you need. Preparation is key to a successful flushing experience.
Finally, ensure you understand safety precautions, such as how to turn off the water supply and power. This knowledge is vital for preventing accidents and ensuring a safe environment during the flushing process.
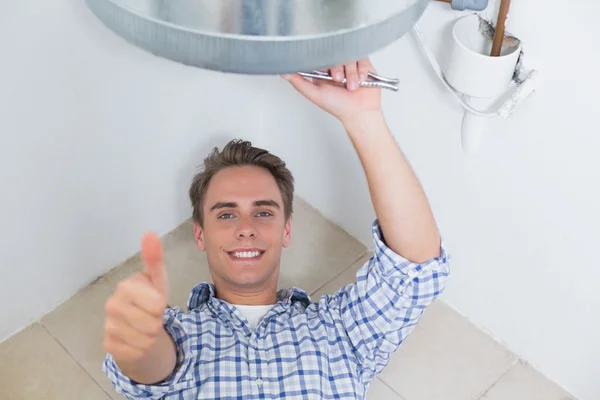
Preparing to Flush the Water Heater
Safety first! Before you start the flushing process, turn off the power supply. If you have an electric water heater, switch it off at the home’s breaker box. For gas water heaters, turn the gas supply to the off position and extinguish the pilot light.
Next, locate the cold water valve and turn it off to stop the water supply to the hot water tank. This step is crucial because it prevents more water from entering the heater while you’re trying to drain it.
Once the power and water are switched off, give the water heater time to cool down. Flushing a hot tank can be dangerous, so patience is vital here. Waiting ensures the water inside the tank has cooled enough to handle safely.
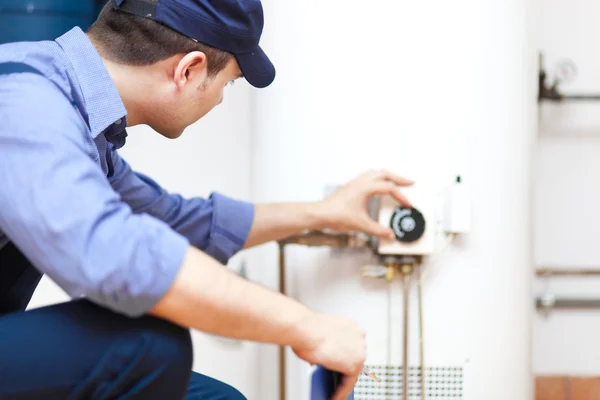
Connecting the Garden Hose
Now it’s time to connect the garden hose to the drain valve located at the bottom of the tank. Make sure the other end of the hose is positioned in a suitable drainage area, like a drain, tub, or even outside, if feasible. Ensure that the hose is securely attached to prevent leaks during the entire flushing process.
Positioning the hose correctly is key to avoiding a mess. Make sure no kinks are blocking the water flow. A smooth path for the water allows for efficient drainage and helps ensure all sediment is flushed out.
With everything set up, you’re now ready to begin draining the water heater. Take a moment to double-check your setup to ensure everything is secure and ready for the next step.
Draining the Water Heater
Open the drain valve carefully to begin draining the water from the tank. You may need to use a wrench if the valve is difficult to turn. Allow the water to flow through the hose until the tank is empty. Be patient as gravity works its magic.
Once the water flow slows to a trickle, it’s time to get rid of any remaining sediment. Turn on the cold water supply briefly to stir up any leftover debris. The force of the cold water will help push out stubborn sediment and ensure a thorough flush.
During this process, keep an eye on the water coming out. Continue until the water runs clear, indicating that the sediment has been effectively removed. If the water remains cloudy, repeat this step until clarity is achieved.
Flushing and Clearing Sediment
To ensure all sediment is cleared, it might be necessary to flush the tank several times. Each time, turn on the cold water supply to agitate the sediment at the bottom of the tank. This step is crucial for maintaining efficient heat transfer within the water heater.
Clearing sediment not only improves efficiency but also reduces the risk of blockages that can strain the system. Regularly flushing your tank helps maintain the overall health of your water heater.
Remember, patience is key. It may take a few flushes, but the result will be worth it. A clean tank leads to hotter water, lower energy bills, and fewer maintenance issues down the line.
Checking for Leaks and Issues
After flushing, it’s important to check for any leaks. Examine the hose connection, drain valve, and pressure relief valve for any signs of dripping or leaks. Tighten any loose connections with a wrench if needed.
Leaks can lead to water damage and reduced efficiency. A thorough check ensures that your water heater is functioning properly and securely.
If you notice any persistent leaks or issues that you can’t resolve, it might be time to call a professional plumber. While DIY maintenance is great, sometimes expert help is necessary to ensure everything is working as it should.
Refilling the Water Heater
With the tank flushed and sediment removed, it’s time to refill the water heater. Close the drain valve and disconnect the hose. Turn on the cold water valve and allow the tank to fill.
Monitor the water level and listen for the sound of water filling the tank. This sound indicates that the refill process is going smoothly. Once the tank is full, turn on a nearby faucet to release any trapped air in the system.
After the air has been expelled, check for consistent water flow. Ensuring the tank is properly filled and there are no air pockets guarantees efficient operation.
Re-lighting the Pilot Light or Restoring Power
If you have a gas water heater, relight the pilot light following the manufacturer’s instructions. For electric units, go to the electrical panel and switch the power back on.
Restoring power should be done cautiously. Ensure all valves are in the correct positions and the tank is completely filled before turning on the power.
Once everything is back on, give the water heater some time to heat the water. Test the hot water at a faucet to ensure everything is functioning correctly.
Regular Maintenance and Future Hot Water Heater Flushing
Regular maintenance is key to a long-lasting water heater. Flushing the tank every six months is recommended to prevent sediment accumulation. This simple step can significantly extend the life of your unit.
Additionally, periodically check for leaks, inspect valves, and monitor water temperature. Regular checks help catch potential problems early, reducing the risk of unexpected repairs.
For those committed to green living, maintaining an efficient water heater is a simple way to reduce energy consumption and lower your carbon footprint.
Knowing When to Call a Professional
While flushing a water heater is a manageable task for most, there are times when professional help might be needed. If you notice persistent leaks, unusual noises, or inconsistent water temperatures, it might be time to consult a professional.
A reliable plumber can provide a thorough inspection and offer solutions for any underlying issues. Don’t hesitate to seek expert help when needed to ensure your water heater operates safely and efficiently.
Understanding when to DIY and when to call in the pros is key to effective home maintenance. It ensures safety and optimal performance for your water heater.

Conclusion | How To Flush A Water Heater
MD Sewer and Plumbing will handle flushing your water heater with no issues so you can be rest assured the job gets done the right way.
Flushing your water heater is an essential maintenance task that offers numerous benefits. Not only does it improve efficiency and extend the life of your unit, but it also ensures a steady supply of hot water for your home. By following these steps, you can confidently maintain your water heater and enjoy the peace of mind that comes with a well-functioning system.
For homeowners, DIY enthusiasts, and green living advocates, regular maintenance is an investment in your home’s efficiency and sustainability. Take the time to care for your water heater, and it will serve you well for years to come.
Should you wish to explore more ways to enhance your home’s eco-friendliness, consider reaching out to professionals who can provide additional guidance and support. Happy flushing!

