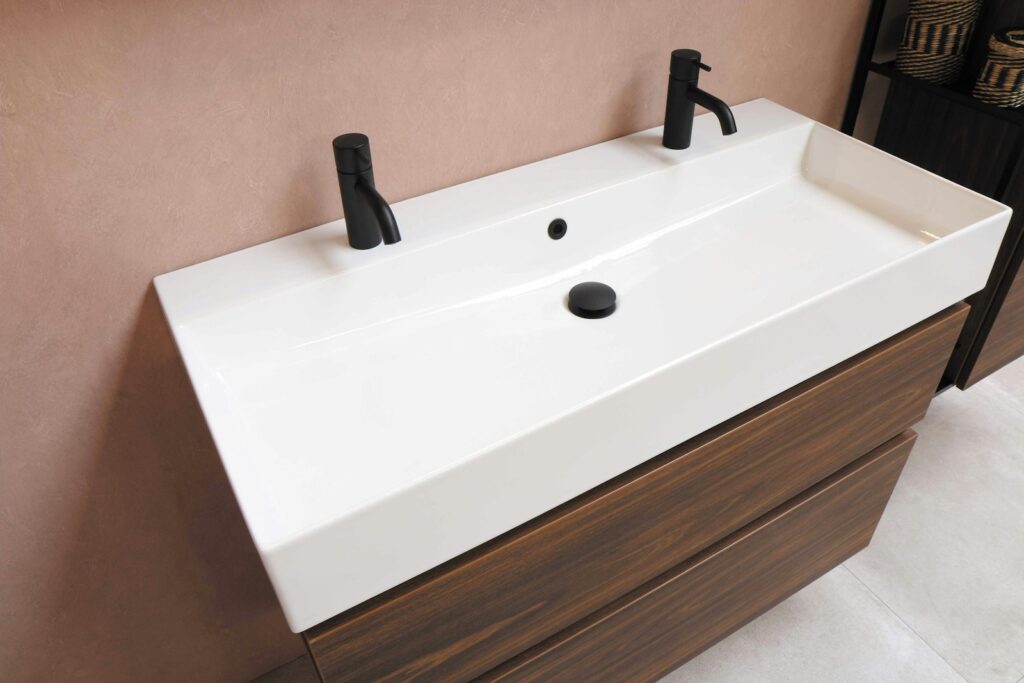
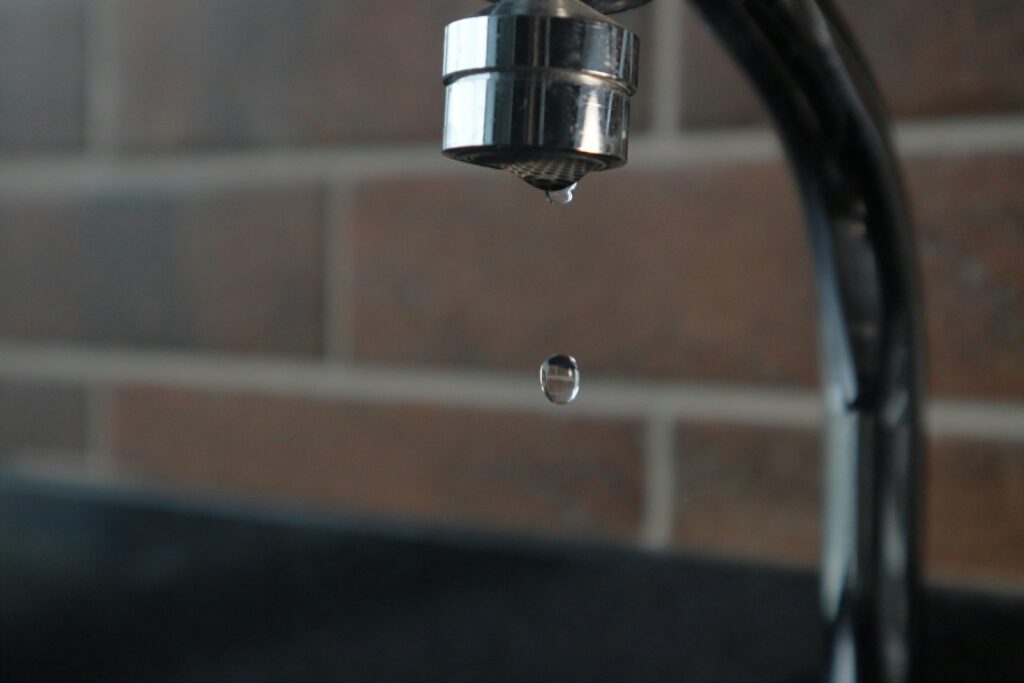
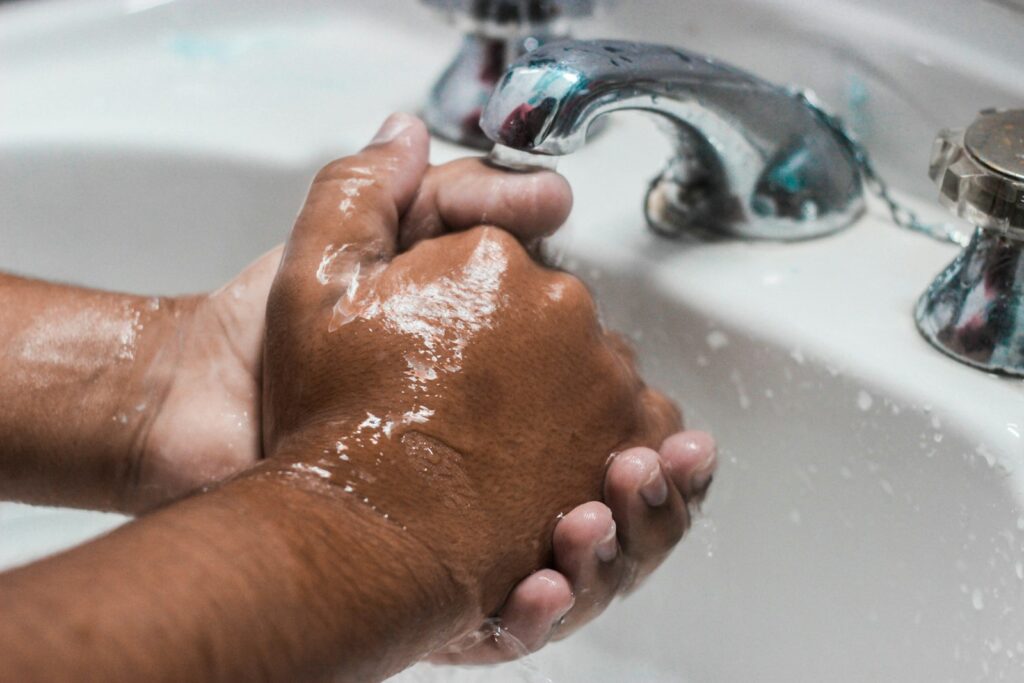
A dripping faucet or a leaky bathroom sink is more than just a minor nuisance—it wastes water, increases your utility bills, and can potentially lead to more significant plumbing issues.
Fortunately, many faucet repair problems can be resolved without calling in a plumber. Homeowners who are willing to learn a bit about faucet types, tools, and troubleshooting can handle most situations themselves.
This comprehensive guide will walk you through everything you need to know about faucet repair, from common causes to step-by-step fixes and preventative tips.
Schedule Service Online
Get a free estimate so you know what you're signing up for
"*" indicates required fields
For Emergency Services Call: 410-255-9300
Understanding Faucet Types and Leaks
Before you begin any repair, it’s essential to understand the type of faucet you have and its internal components. This knowledge will be your first step toward a successful repair.
Types of Faucets
- Cartridge Faucets: These faucets use a cartridge that moves to control water flow and temperature.
- Ball Faucets: Found in sinks, these have a single handle that moves in multiple directions. To disassemble and repair a ball faucet, start by removing the handle and cap, then carefully take out the ball and cam assembly. This type of faucet is unique due to its rotating ball mechanism that controls the water flow and temperature.
- Single handle faucets, including ball faucets, often face issues like leaks. Identifying the source of the leak is crucial for effective repair.
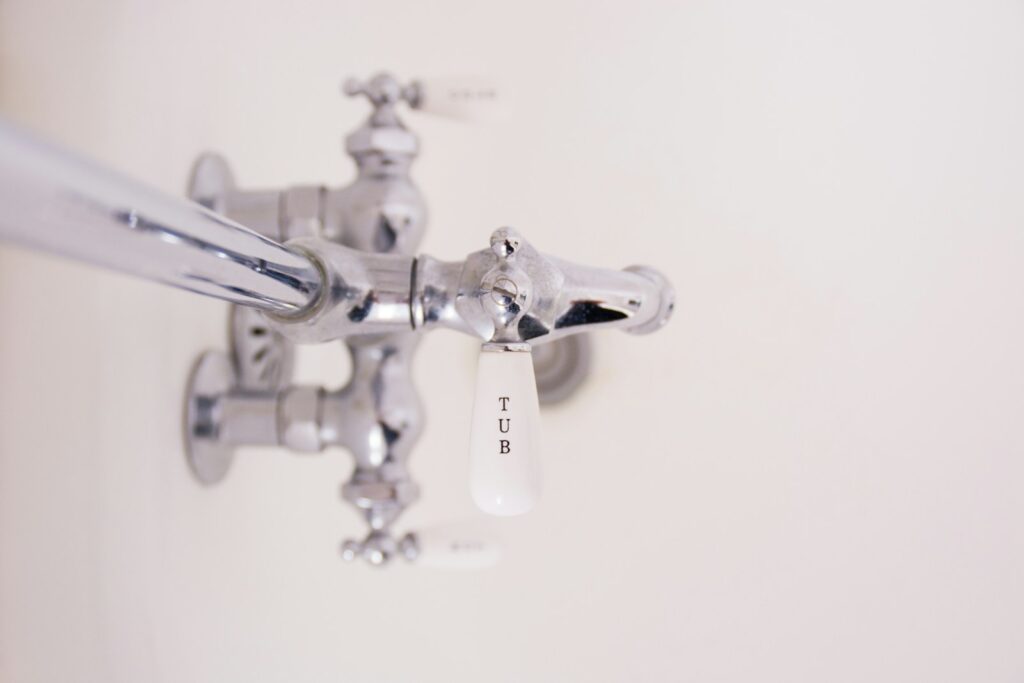
- Compression Faucets: These older designs use two handles and rely on washers to seal water flow.
Identifying the Source of the Leak
Leaks can occur in various areas of the faucet, such as:
- Leaky Faucet Handle: Water may drip down around the base of the handle.
- Faucet Spout: Most common leaks involve water dripping from the spout.
- Valve Stem: Problems with the valve stem inside the faucet may also cause leaks.
Familiarity with Internal Parts
Get to know essential faucet components like:
- O-ring
- Washer
- Retaining Clip
These are the small yet critical parts that often cause faucet issues when worn or broken.
Diagnosing Common Issues
Identify common leaky faucet causes such as:
- Damaged or worn-out O-rings and washers
- Loose screws or corroded parts
- Improper installation or maintenance
Preparing for Repairs
Before you jump into disassembling the faucet, preparing your workspace and tools is crucial.
Turning Off the Water Supply
- Locate the water supply valve under the sink.
- Turn it off to stop water flow completely.
- Test by turning on the faucet to confirm no additional water comes out.
Gather the Right Tools
Ensure you have the following:
- Adjustable wrench
- Plumber’s grease
- Replacement parts like washers and O-rings
- Screwdriver
- Towel for cleaning and drying
Create a Safe Workspace
Lay a towel or tarp under the sink area to catch any missing screws, debris, or water drips.
Environmental Considerations
As we strive to reduce our environmental footprint, it’s essential to consider the ecological implications of our actions, even when it comes to something as mundane as fixing a leaky faucet. In this section, we’ll explore eco-friendly repair practices and ways to reduce water waste.
Eco-Friendly Repair Practices
When repairing a leaky faucet, adopting eco-friendly practices can significantly minimize waste and reduce environmental impact. Here are some tips to keep in mind:
- Use Environmentally Friendly Cleaning Products: Opt for green cleaning solutions to clean the faucet and its components. These products are less harmful to the environment and safer for your home.
- Avoid Harsh Chemicals: Steer clear of strong chemicals that can contaminate water sources and harm the ecosystem. Instead, use natural alternatives like white vinegar for cleaning and removing mineral buildup.
- Choose Energy-Efficient Models: When replacing an old faucet, consider energy-efficient and water-conserving models. These faucets are designed to reduce water usage without compromising performance.
- Sustainable Materials: Whenever possible, use recycled or sustainable materials for repair and replacement parts. This not only helps the environment but also supports sustainable manufacturing practices.
Reducing Water Waste
A leaky faucet can waste a significant amount of water, which is not only detrimental to the environment but also increases your water bill. Here are some ways to reduce water waste:
- Fix Leaks Promptly: Addressing a leaky faucet as soon as you notice it can prevent substantial water waste and lower your utility bills.
- Install Low-Flow Faucets and Aerators: These devices reduce water consumption by limiting the flow rate, helping you save water without sacrificing functionality.
- Water-Saving Features: Consider faucets with built-in water-saving features, such as flow-restricting devices, to further reduce water usage.
- Educate on Water Conservation: Spread awareness about the importance of water conservation. Simple steps like turning off the tap while brushing teeth or fixing leaks immediately can make a big difference.
Steps for Faucet Repair
Once prepared, you’re ready to repair the leaky faucet efficiently.
1. Disassemble the Faucet
- Remove the faucet handle using a screwdriver or wrench to access internal parts.
- For single handle faucets, identify the source of the leak by examining the ball, cartridge, or ceramic disc inside. Follow standard repair steps or manufacturer-specific instructions to disassemble these components.
- Take note of the order and position of each removed part for easy reassembly.
- Set aside any small pieces like the retaining clip to avoid losing them.
2. Replace Worn Parts
- Inspect components like the O-ring, washer, or valve stem for damage or wear.
- Replace these parts with compatible new ones to stop leaks.
- Lubricate moving parts using plumber’s grease before reassembling.
3. Reassemble the Faucet
- Reinsert parts in reverse order to ensure everything is in the correct position.
- Tighten screws and secure the faucet handle back into place.
4. Test for Leaks
- Reopen the water supply valve and turn on the faucet.
- Check for any remaining leaks or problems.
Common Causes of Leaks
Addressing the root cause of leaky faucets is crucial to prevent recurring issues.
Worn-Out O-Rings or Washers
The most common cause of leaks, they degrade over time and should be replaced every few years.
Loose Components
Loose screws, nuts, or bolts can create gaps, leading to leaks. Tightening these parts often solves minor issues.
Corroded Components
Rust or corrosion may impact seals, screws, and other metal parts, leading to leaks or poor performance.
High Water Pressure
Excessive water pressure strains the plumbing system and can result in leaks.
Cost-Effective Repair Solutions
Repairing a leaky faucet can be costly, but there are ways to make it more affordable. In this section, we’ll explore budget-friendly tools and materials that can help you save money.
Budget-Friendly Tools and Materials
When repairing a leaky faucet, using the right tools and materials is crucial for a successful fix. Here are some budget-friendly options to consider:
- Faucet Repair Kits: These kits often include all the necessary parts and tools for common repairs, making them a cost-effective solution.
- Generic or Aftermarket Parts: Opt for generic or aftermarket parts instead of original equipment manufacturer (OEM) parts. They are usually less expensive and can be just as effective.
- Shop Smart: Look for tools and materials at local hardware stores or online retailers that offer competitive pricing. Sales and discounts can also help you save money.
- Second-Hand or Refurbished Parts: Consider using second-hand or refurbished parts for your repairs. These can be found at salvage yards or online marketplaces and are often much cheaper than new parts.
By adopting eco-friendly repair practices, reducing water waste, and using cost-effective repair solutions, you can fix your leaky faucet while also doing your part for the environment and your wallet.
Preventing Leaks
Prevention is always better than repair. A few simple practices can help keep your faucets in top shape.
- Regular Inspections: Check your faucets every three to six months for signs of damage or wear.
- Clean Regularly: Use mild cleaners and a soft cloth to remove grime and buildup.
- Fix Small Issues Quickly: Don’t ignore drips—they can lead to bigger leaks.
- Manage Water Pressure: Keep water pressure within an optimal range (40–60 psi) to protect your plumbing components.
Managing Water Pressure
Proper water pressure management ensures longevity for your faucet and overall plumbing system.
- Use a pressure gauge to measure your home’s water pressure.
- Install a water pressure regulator if levels exceed 60 psi.
Troubleshooting Tips for Leaky Faucets
If you’re still dealing with problems after repair, try these troubleshooting tips:
- Ensure the valve stem is aligned correctly and seated securely.
- Check that springs and rubber seat components are installed correctly.
- Flush the valve stem to remove debris that could be causing the leak.
- Remove mineral buildup by soaking the aerator in white vinegar for 30 minutes.
When to Call a Professional
While many faucet repairs are DIY-friendly, some situations require expert handling:
- Complex faucet mechanisms or models
- Persistent leaks you cannot diagnose or fix
- Lack of tools or experience with plumbing repairs
Contacting a licensed plumber ensures a safe and effective resolution to challenging issues.
6 Best Faucet Brands for Faucet Repair
When it comes to repairing faucets, choosing components or replacement parts from a reliable and high-quality faucet brand makes all the difference. Here are six of the best faucet brands with links to their official websites so you can explore products and parts directly.
1. Delta Faucet
Delta is renowned for its innovative designs and reliable performance. Their faucets are designed with repair and maintenance in mind, offering easily available replacement parts. Delta also provides detailed instruction manuals for DIY repairs. Visit Delta Faucet’s website
2. Moen
Moen is celebrated for its durability and ease of repair. Their “Lifeshine Finish” and other features ensure longevity, and replacement components are widely available. Moen’s website also includes helpful guidance on repairing and troubleshooting their products. Visit Moen’s website
3. Kohler
Kohler faucets are known for their sleek designs and premium quality. With an emphasis on sustainability and innovation, they also offer a wide variety of replacement parts for seamless repair. Kohler’s support section provides excellent resources for repairs. Visit Kohler’s website
4. Pfister
Pfister has been creating faucets for over a century, combining style and dependability. They offer lifetime warranties on many products, which makes repairs straightforward and cost-effective. Replacement parts and repair guides are available on their website. Visit Pfister’s website
5. American Standard
American Standard’s faucets are built to serve households for years, and their repair kits and parts are easy to access. The company focuses on making products simple to maintain, ensuring users can handle minor repairs themselves. Visit American Standard’s website
6. Hansgrohe
Hansgrohe is celebrated for its luxury, German-engineered faucets with a focus on durability. Despite the high-end appeal, they provide comprehensive support for repairs, along with readily available replacement parts. Visit Hansgrohe’s website
If you’re looking to repair your faucet, these brands offer not only reliable products but also excellent resources to make the job easier. Be sure to check their official websites for repair guides, compatible parts, and direct purchasing options!
Keep Your Faucets in Perfect Condition
Repairing a leaky faucet is a manageable DIY task with the right tools and knowledge. By following these steps, you can save water, reduce utility bills, and maintain the functionality of your bathroom sink or kitchen fixtures.
For more severe issues, don’t hesitate to call in a professional. Stay proactive and inspect your faucets regularly to prevent future leaks and enjoy a no-drip zone in your home.


