If you’re building a new home or undertaking a home renovation project, you’ve likely heard the term “plumbing rough in” thrown around. But, what exactly is a plumbing rough in and why is it important? Well lucky for you, you’ve come to the right place!
In this blog, we’ll discuss what a plumbing rough in is and its significance, the process of installation, the importance of rough framing, and the inspection process. So, without further ado, let’s dive in and learn more about a plumbing rough in!
What’s A Plumbing Rough in?
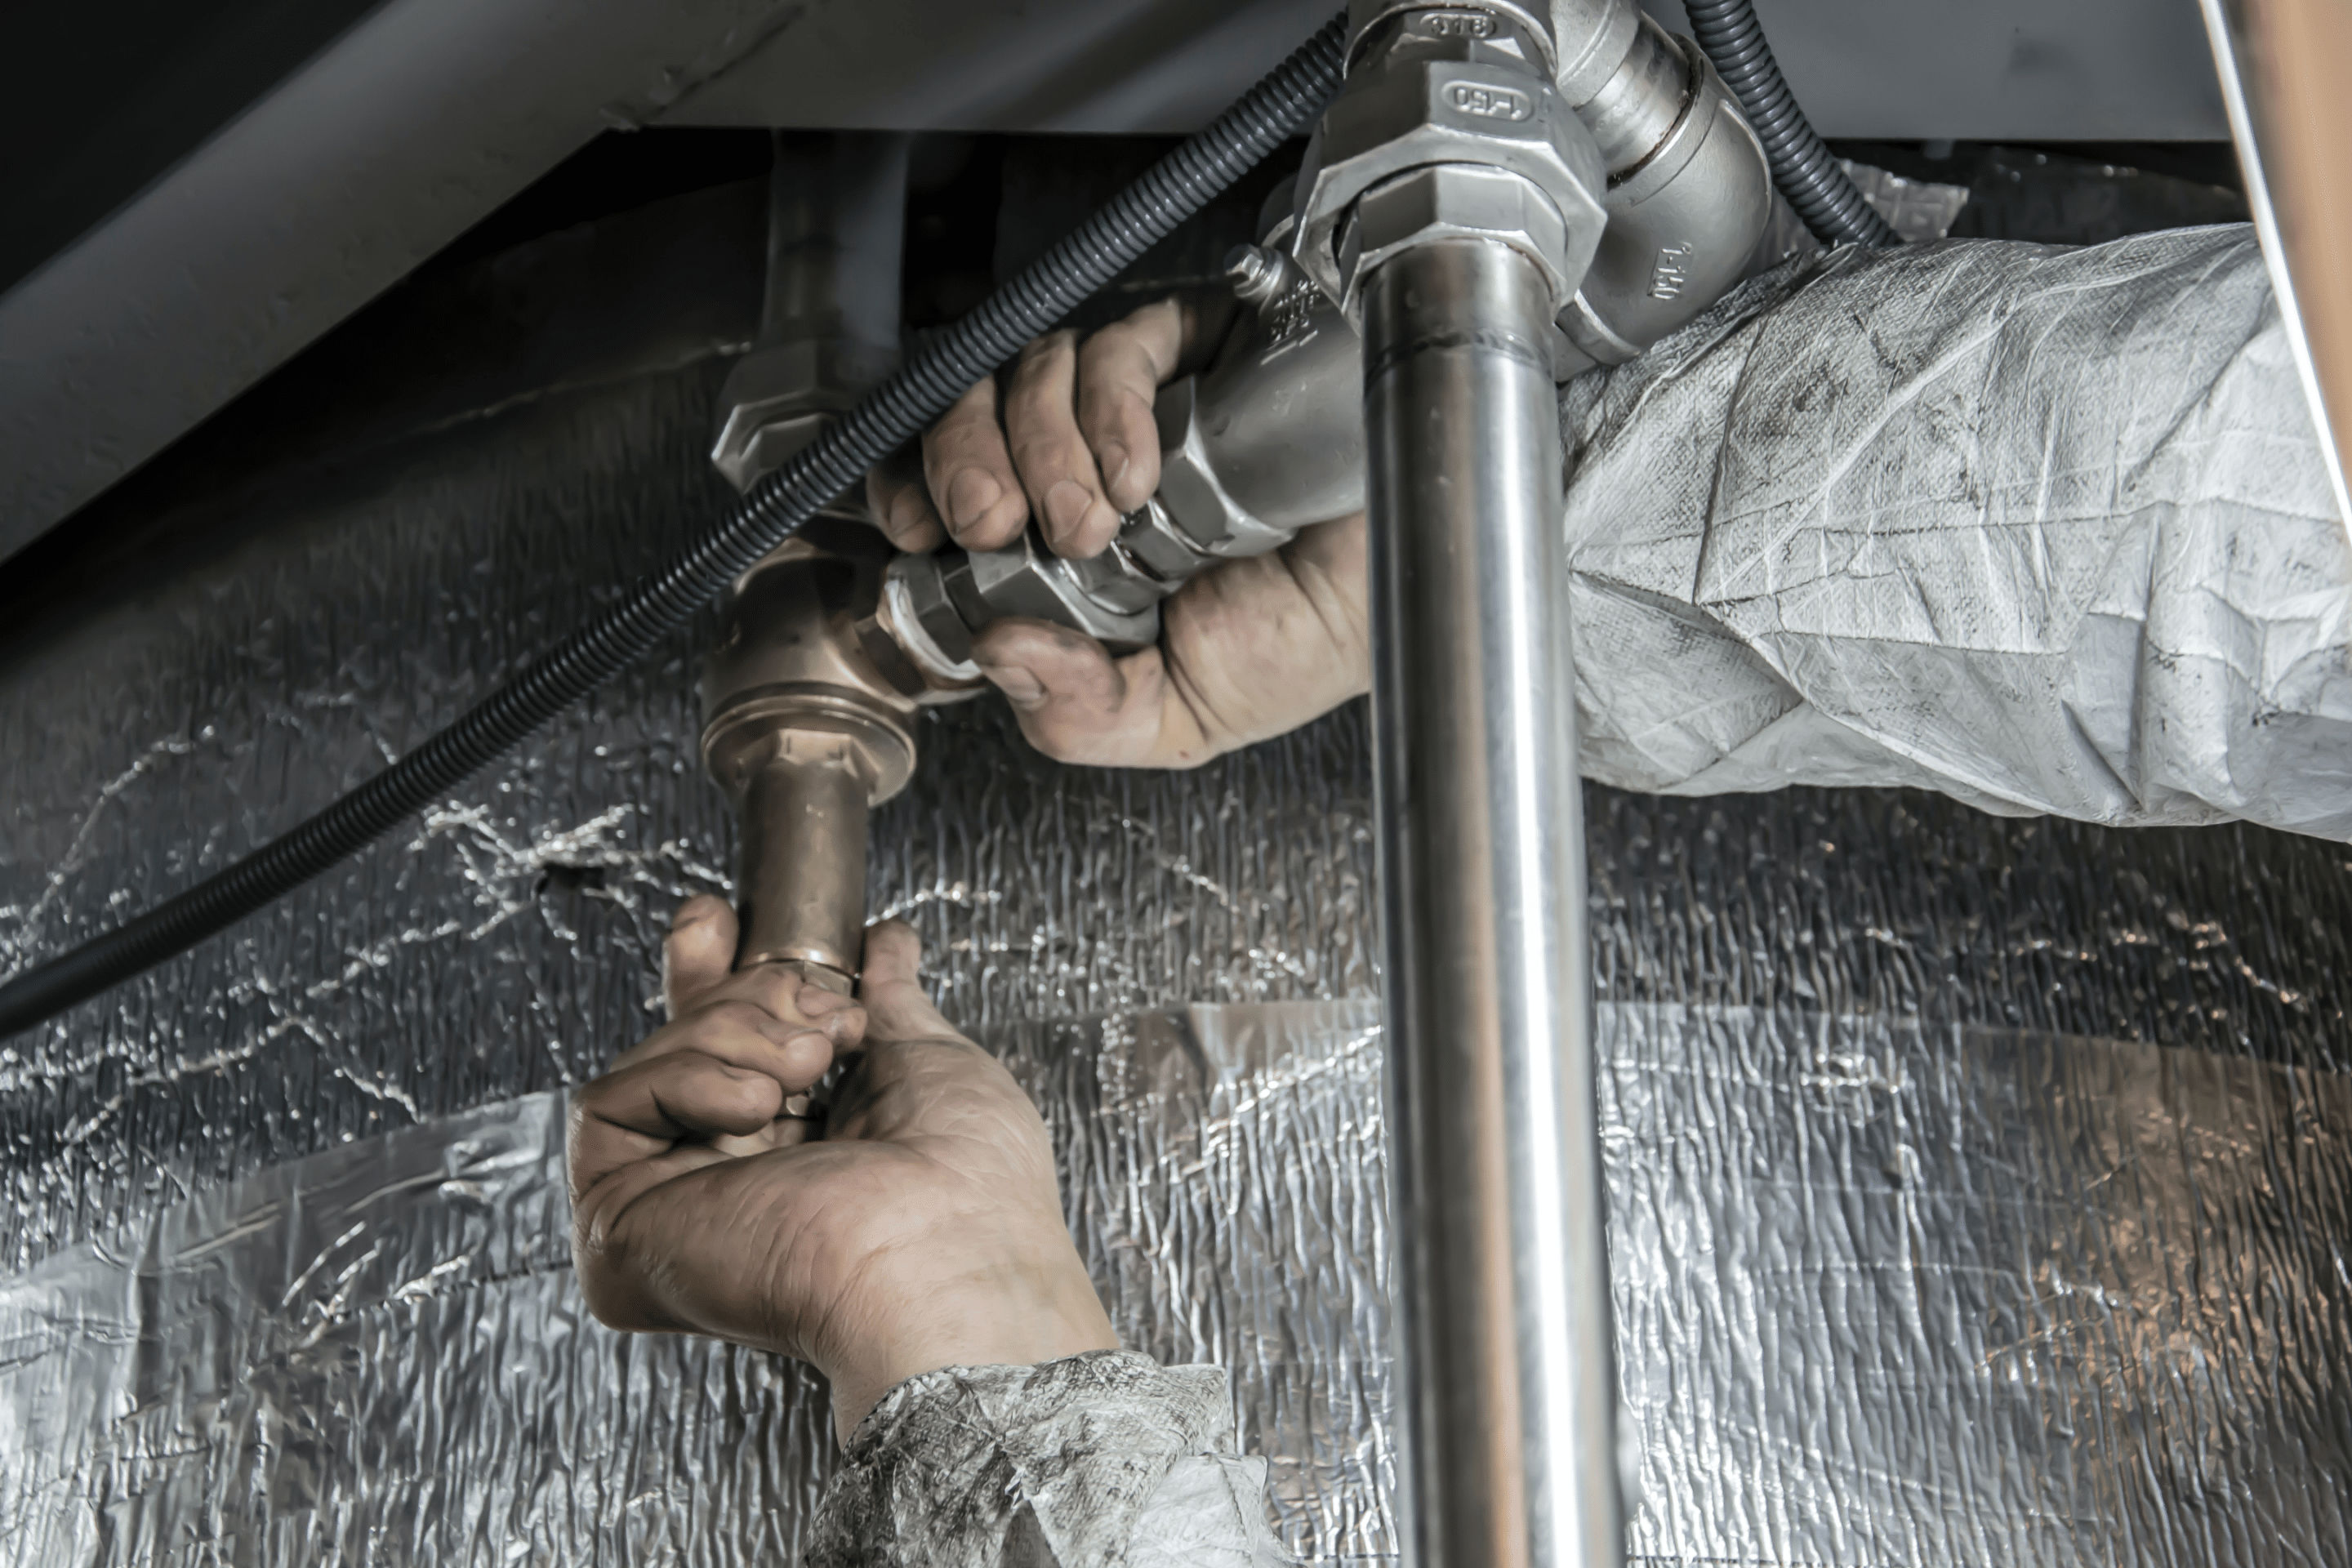
First off, what is a plumbing rough in? Rough in plumbing entails the initial installation of water supply lines, drain lines, plumbing vents, and pipeline connections. After this foundational infrastructure is in place and approved by a building inspector, plumbing experts can proceed to the finish plumbing phase.
Schedule Service Online
Get a free estimate so you know what you're signing up for
"*" indicates required fields
For Emergency Services Call: 410-255-9300
This method allows for access and adjustments to be made without the need for expensive and disruptive modifications later on. It is an essential part of any construction project, making sure that your plumbing system is installed correctly, and will keep your home or building running smoothly.
Preparing Your Plumber for The Plumbing Rough in

Before your plumber begins the rough in plumbing phase of your new construction home or commercial property, make sure all the framing work is completed. Give your plumbing contractor all necessary product specs, plans and cabinet layouts beforehand.
It can be beneficial to have them walk through the framed house with the builder present in order to determine exact locations of plumbing fixtures, tubs, water heater and washer/dryer hookups as well as where to connect the main water line and drain lines.
Now that we’ve covered the importance of a rough-in and how to prepare for one, let’s unpack the intricacies and steps involved in the plumbing rough in installation process.
Rough in Plumbing Installation Process
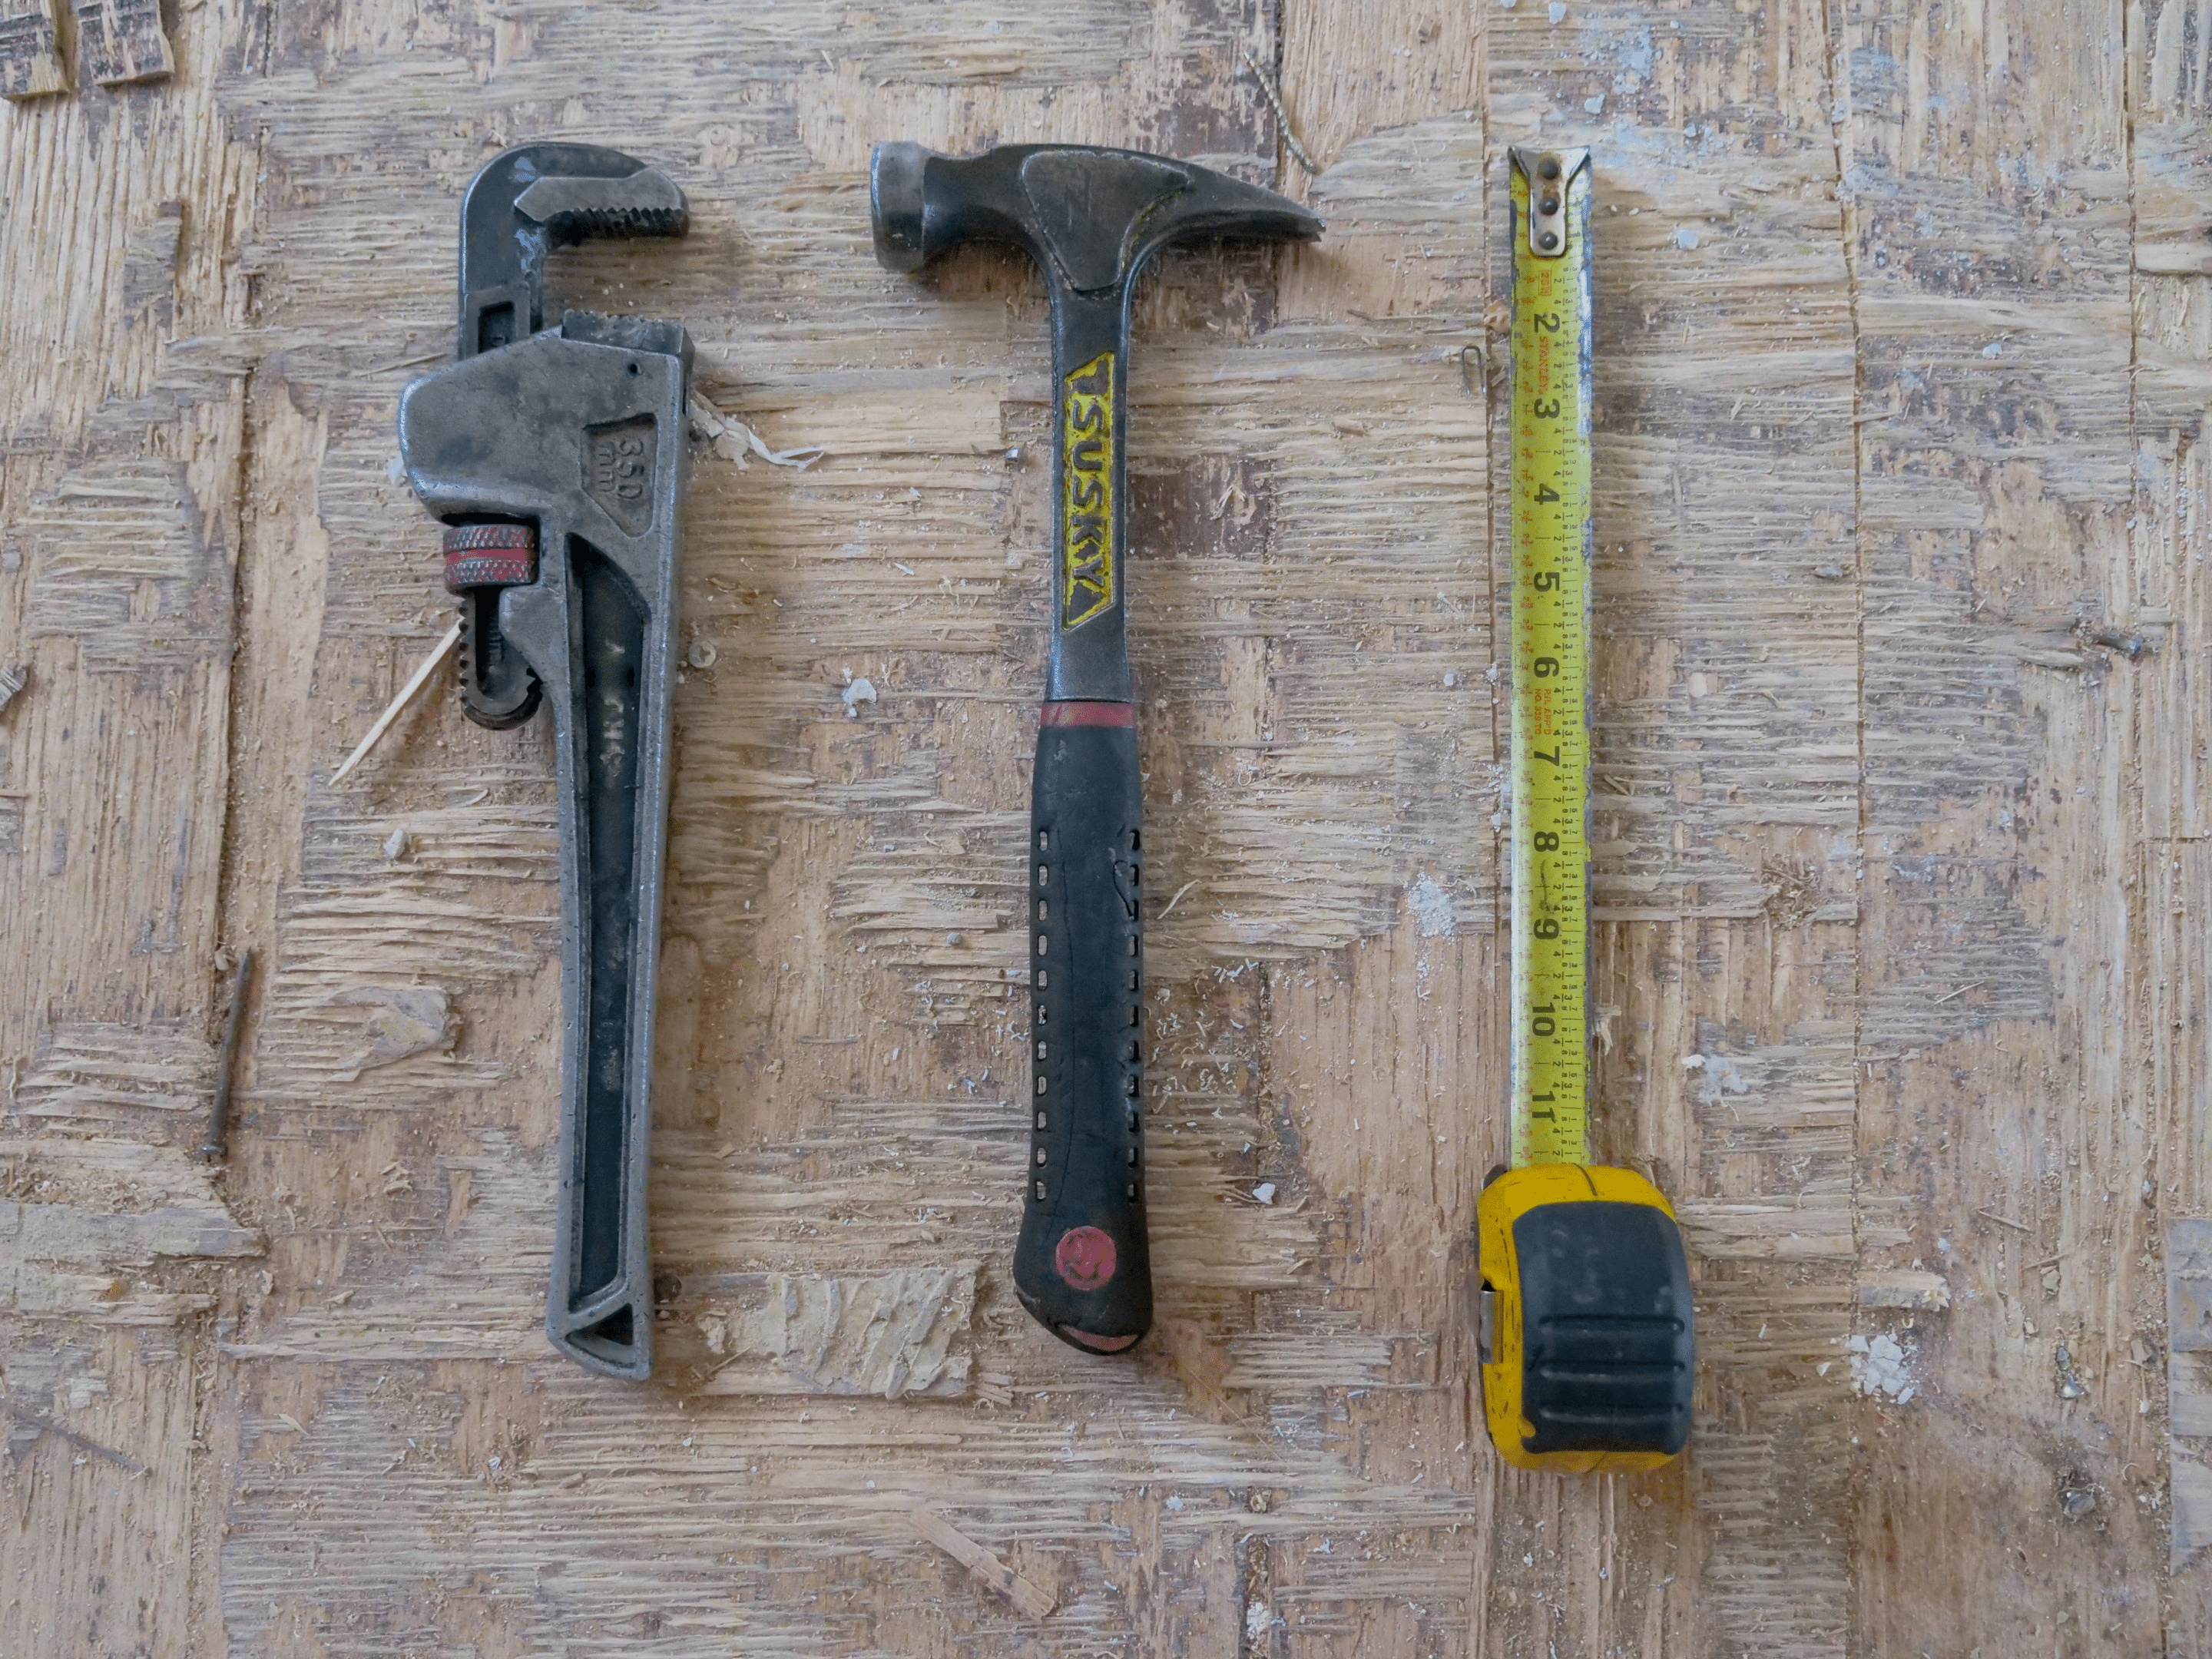
Step 1: Lay Main Water and Drain Lines
The first step of the plumbing rough in process is to excavate and lay main water and drain lines. This involves digging a trench for the water and sewer lines, installing the pipes, then backfilling the trench. The water line is typically placed at a depth of two feet or more from the finished surface.
The sewer line requires a deep trench that is sloped in order to allow for proper drainage. After properly positioning the pipe, it must be secured with clamps and covered with gravel before backfilling the trench. Once all of these steps are completed, the plumbing rough-in process can move onto its next step.
Step 2: Measuring Tub and Toilet Drains
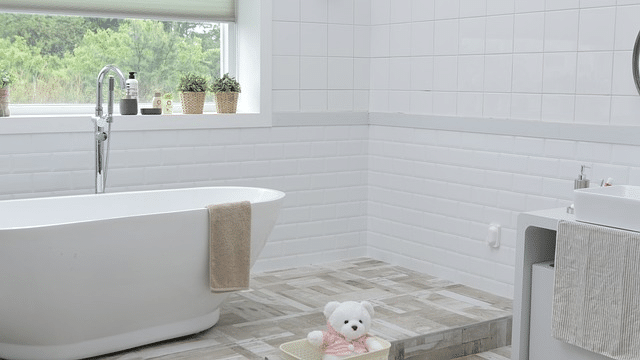
Measuring and drilling for the tub and toilet drains is an important step in the plumbing rough-in process. This involves measuring the drain lines from the floor or wall to ensure they will connect properly with the fittings of the tub or toilet. Once the measurements are taken, it’s time to drill into the floor or wall to allow for a snug fit of the fittings.
The size and depth of these holes need to be precise in order for better flow of water. It is also important to make sure that all pipes are secured tightly and sealed with caulk before proceeding with installation. Doing so will prevent future leaks or other damage caused by poor connections.
Step 3: Preparing for Drainage and Venting
The third step in the plumbing rough in process is to drill holes for wastewater system drainage and venting. This involves measuring carefully and drilling holes in the appropriate spots for two pipes: wastewater drain line pipes to carry away waste water, and a vent pipe to allow air into the system. It is important that these holes are properly sealed so that water does not leak out or cause other problems.
Once the holes are drilled for the waste lines and venting, any insulation must be installed around them so as not to compromise their integrity. After all of these steps are taken, it will be time to move onto the next stage of plumbing installation.
Step 4: Drill Holes and Run Water Supply Lines
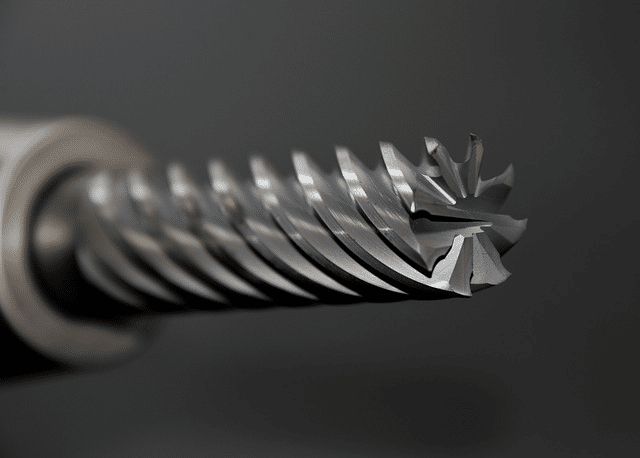
The fourth step in the plumbing rough in process is to drill holes and run water supply lines. This involves drilling holes through walls and floors, for pipes that will carry hot and cold water to plumbing fixtures like sinks and showers.
The size of the holes depends on the type of pipe being used, but they should be large enough to accommodate both the pipe itself and any insulation that may need to be added. Once all the holes are drilled, the pipes can then be fed through them and secured in place with appropriate fittings.
It is also important to ensure that pipes are properly insulated before running them through walls or ceilings, as this will help prevent any heat loss from taking place further down the line.
Step 5: Venting the Plumbing Lines
The fifth step in the plumbing rough in process is externally venting plumbing equipment. This step involves attaching a vent pipe to the drainage system of the plumbing equipment, usually located at the highest point of the fixture or appliance. Installing the appropriate vents helps ensure that all pipes are properly filled with water and allows air out of each trap in order to prevent clogs and backups.
The vent pipe allows for external venting, keeping sewer gas from entering the building. Additionally, installing vents prevents pressure changes within the drain lines which can cause backflow problems. While it’s possible to install a vent pipe yourself, it’s best to use an experienced plumber. They’ll know to use proper fittings and techniques during installation to ensure that all connections are secure and tight in your property.
Step Six: Complete the Water, Drain, and Vent Tie-ins
The sixth step of the plumbing rough in process is to complete the water, drain, and vent tie-ins. This involves connecting all of the pipes, plumbing, other fixtures, and vents by using fittings such as elbows, tees, and couplings. It also includes installing drain traps and overflows as well as attaching any necessary valves.
This step requires a great deal of precision to ensure that each pipe is positioned correctly and securely so that there are no leaks or clogs in the system. Once the plumbing is tied together properly, it can be tested for leaks before finishing off with insulation and trim pieces as desired to complete the project.
Step 7: The Final Step
The last step of a plumbing rough in is to connect and test the water line. This involves connecting the necessary fixtures to the supply line, such as toilets, sinks, showers, and any other water-using appliances.
Once all connections have been made and secured with fittings and sealants, it is important to pressure test the entire system. A pressure gauge should be used to ensure that no leaks exist in the pipe connections which would cause damage or unsafe conditions.
After You Pass The Pressure Test
After passing the pressure test, turn on the water main valve slowly to allow for gradual increases in pressure throughout the system. This will also help identify any further potential points of failure or leaks. Finally it’s time to turn on each individual fixture one by one and ensure they are functioning properly. After all fixtures have been tested and confirmed as working correctly, the plumbing rough in for your project is complete!
Copper vs. PVC: Which is Best for a Plumbing Rough in?
Using copper pipe material instead of PVC in a plumbing rough in can be beneficial for several reasons. Copper is more durable than PVC, with a lifespan that can last up to 50 years or longer. Copper also has better heat and fire resistance than PVC, which makes it less likely to suffer damage due to temperature changes or fire exposure.
Copper pipes also don’t corrode like PVC, so they are less likely to break down over time and need replacements. This is especially beneficially for underground pipes.
Additionally, copper provides better soundproofing than PVC, making them ideal for plumbing systems near noisy appliances or machinery. Overall, copper pipes provide superior strength and durability compared to PVC when used in a plumbing rough in system.
Completing Your Rough in Plumbing System
As you can see, a plumbing rough-in is a critical step in the installation of a plumbing system for any building. A skilled technician will take care of everything from the placement of pipes and fixtures to the rough framing installation process, to ensure that everything is done perfectly.
So, if you are in need of plumbing services, look no further than Maryland Sewer and Plumbing Services. Our skilled technicians have the expertise, experience, and equipment to take care of all of your plumbing needs. Contact us today, and we’ll be happy to help you with your plumbing rough in needs.
About Maryland Sewer & Plumbing Service, Inc.
If you live in Maryland and need reliable plumbing repair, service, or installation, look no further than our locally owned company! In business since 1985, we are experienced in handling all kinds of residential and commercial plumbing problems quickly and efficiently.
Rely on us for the high-quality services you need 24/7! Book your desired sewer or plumbing service today by visiting our website.

