There’s nothing like the invigorating feeling of a good shower to start your day off right. But if you’re still using a traditional showerhead, you’re missing out on the many benefits that a handheld showerhead has to offer. A handheld shower is basically a shower head with hose attachments.
Unlike traditional shower heads, most handheld shower heads can be removed from their mount and used as handheld sprayers. This makes it easy to rinse off soap and shampoo and can even be used for spot cleaning in the shower.
Handheld showerheads are also a great choice for people with limited mobility, as they can be used while seated in a bath chair. In this article, we’ll show you how to install a handheld showerhead, some common shower problems, and how to fix them.
Schedule Service Online
Get a free estimate so you know what you're signing up for
"*" indicates required fields
For Emergency Services Call: 410-255-9300
Handheld Shower Adapter Kits
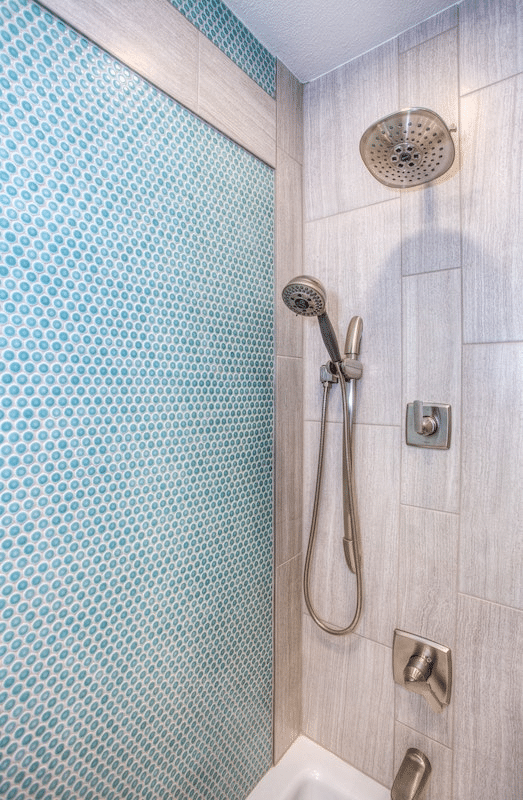
Before we get to the installation, let us go through the several adapter kits that can help you turn your existing shower into a handheld one.
Tub spout diverter valve: It is usually needed when you have a tub with no built-in diverter. It requires no tools for installation and is the most popular type. It requires replacing your old tub spout with a new one with a handheld showerhead connection.
Cross-Tee Diverter Fitting: This is a diverter that’s easy to install and doesn’t require any tools. You’ll be able to keep your existing shower head, too–it comes with a hose and handheld showerhead. The T-fitting has two outlets: one for the new handheld showerhead and one for the original shower head.
Standard Fitting: The flexible hose and handheld shower unit that attaches to the existing shower arm and substitutes the old showerhead with a flexible hose and handheld shower unit that may also be used as a stationary head.
Materials
Here we list some of the materials and tools that you’ll need:
- Plumbers tape
- Handheld showerhead
- A piece of cloth
- Tub spout with diverter
Equipment Needed
- Adjustable wrench
- Drill and bits
- Hex Key
Instructions
Now that we have all of our materials/equipment, let’s get started on the installation!
How To Add A Handheld Showerhead Using A Standard Fitting
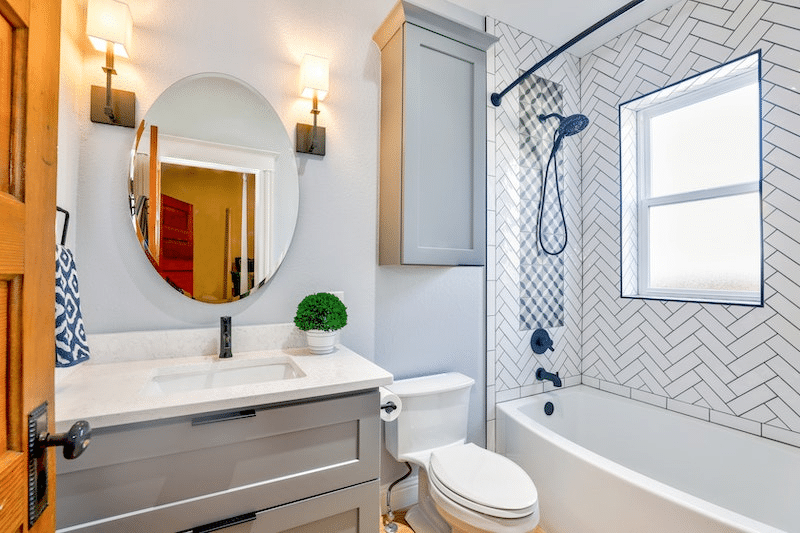
Instead of replacing the old shower head with a rigid hose and handheld shower mixer, this technique uses a handheld shower unit that adheres to the existing shower arm. Depending on the model, the handheld device screws onto the end of the new showerhead base or fits onto a bracket attached to the wall.
1. Start by attaching the Showerhead Base
Remove the old shower head and wrap several loops of the plumber’s pipe-seal tape around the threads on the shower arm, then attach the handheld showerhead base to the shower arm and tighten it by hand. Hold the shower arm while doing this, and don’t overdo it at this step.
2. next, attach the Hose
You could wrap several loops of the plumber’s pipe-seal tape around the threads on the shower arm, but it isn’t necessary. Just screw the hose onto the showerhead base and hand-tighten it.
Turn on the water at the shutoff valves and check for leaks. If you see any water leaking from where the hose meets the showerhead base, remove the hose and add another layer or two of the plumber’s tape before screwing the hose back on.
3. Mount the Wall Bracket next
Some handheld shower units come with a wall-mounted bracket that holds the hose when you’re not using the handheld shower head. To install the bracket, first drill two holes in the wall at the desired location and insert wall plugs into the holes. Then hold the bracket up to the wall and mark the locations of the screw holes. Remove the bracket and drill pilot holes at the marks, then screw the bracket to the wall.
4. Attach the Showerhead
Slide the handheld showerhead onto the bracket, then turn on the water at the shutoff valves and check for leaks. If you see any water leaking from where the hose meets the showerhead base, remove the hose and add another layer or two of the plumber’s tape before screwing the hose back on.
How To Add A Handheld Shower Using A Cross-Tee Diverter Fitting
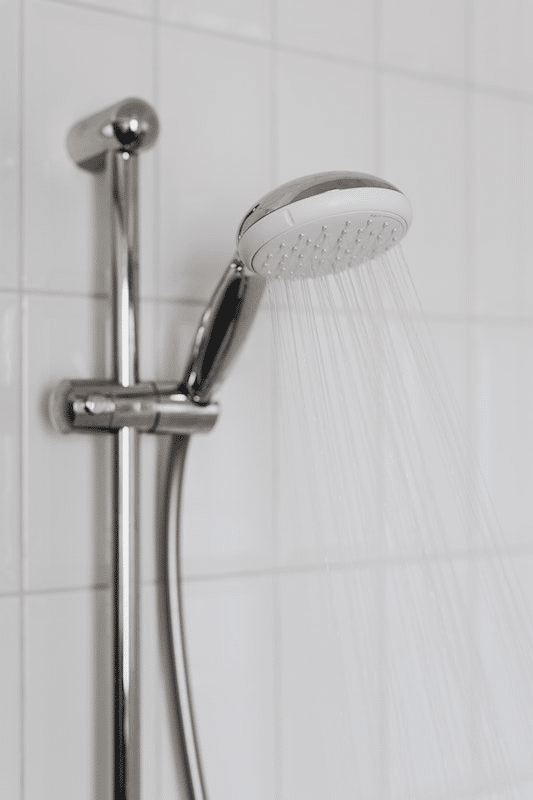
This technique utilizes a handheld showerhead and also keeps the original showerhead in place. It entails temporarily removing the present showerhead, then connecting a cross-tee fitting with two outlets: one for linking the new handheld showerhead and hose and one for reconnecting the existing shower head.
1. start by Installing The Cross-Tee Fitting
Start by shutting off the water at the shutoff valves and opening the faucets to relieve any pressure in the lines. Remove the old showerhead by unscrewing it from the shower arm. Wrap several loops of the plumber’s tape around the threads on the shower arm, then screw on the cross-tee fitting and hand-tighten it.
2. Reconnect The Shower Head next
Use the plumber’s pipe-seal tape to wrap the threads of the cross-tee fitting. Next, connect the old shower head to one outlet. Finally, tighten by hand.
3. then Attach The Flexible Hose
To prevent leaks, secure the flexible hose of the handheld showerhead to the other outlet on the cross-tee fitting with a wrench. Turn on the water at the faucet and check for leaks; if either connection point leaks, tighten carefully using an adjustable wrench or channel-lock pliers while taking care of the finish with a piece of heavy cloth or leather.
How To Add A Handheld Shower Using A Tub Spout Diverter Valve
If you don’t have a showerhead, you can add a handheld one by attaching a diverter valve to your tub spout. This often involves replacing the old tub spout with a new one that has the proper fitting.
1. first off, Remove The Tub Spout
To start, shut off the water at the shutoff valves and open the faucets to relieve any pressure in the lines. Use an adjustable wrench or a pair of channel-lock pliers to loosen and remove the old tub spout.
2. next, Install A New Spout
Once the old spout is removed, apply a layer or two of the plumber’s pipe-seal tape to the threads on the stub-out pipe. Screw on the new spout by hand, then tighten it with channel-lock pliers. Be careful not to overtighten and damage the finish.
3. once done, Mount the Slide Bar
Position the bracket for the handheld showerhead so that the hose will have plenty of slack when it’s hanging down. Use a drill to make pilot holes for the bracket screws, then drive the screws into the wall and tighten them.
4. finally, Attach the Flexible Hose
To prevent leaks, secure the flexible hose of the handheld showerhead to the diverter valve with a handheld shower head wrench. Turn on the water at the faucet and check for leaks; if either connection point leaks, tighten carefully using an adjustable wrench or channel-lock pliers while taking care of the finish with a piece of heavy cloth or leather.
Best Handheld Shower Head 2022
Below, we list some of the best handheld shower heads of 2022:
1. Bright Showers Rain Shower Head With Handheld Spray
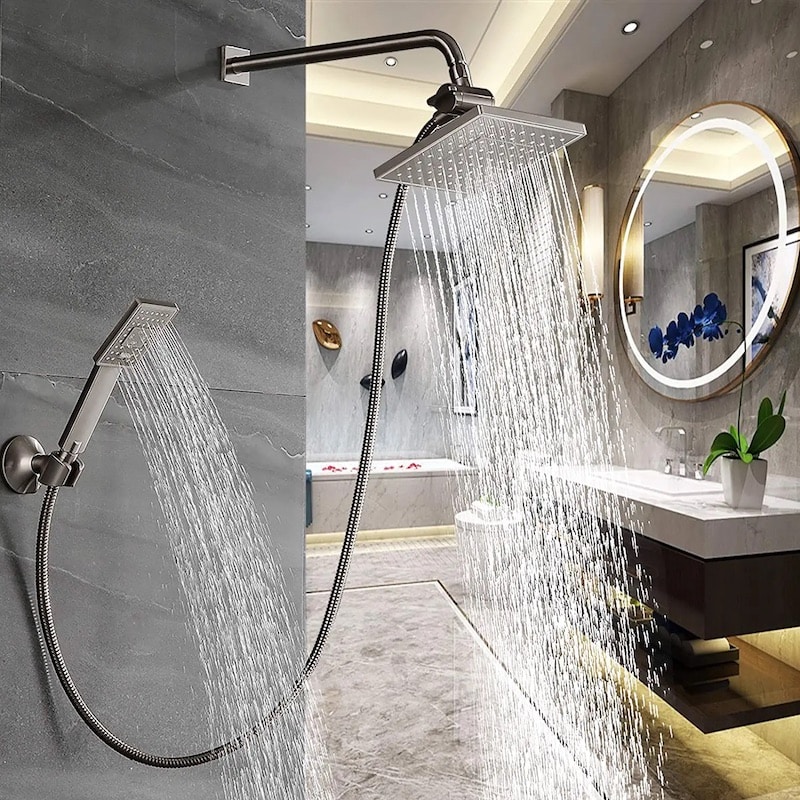
This fixture comes with a rain shower head that is 8 inches in diameter and features 200 Nozzles. The handheld model, which has a similar square shape to the rainfall shower head, can be hung on the wall with an included suction cup and matches today’s design.
Each faucet comes with three spray settings- massage, saturating, and combo. There’s also an on/off switch, which makes it perfect for when you’re bathing your pets or small children. The three-way diverter control is located on the overhead spray so that you can decide where the water will flow: to the handheld shower head, rain shower head, or both.
2. G-Promise High-Pressure Shower Head
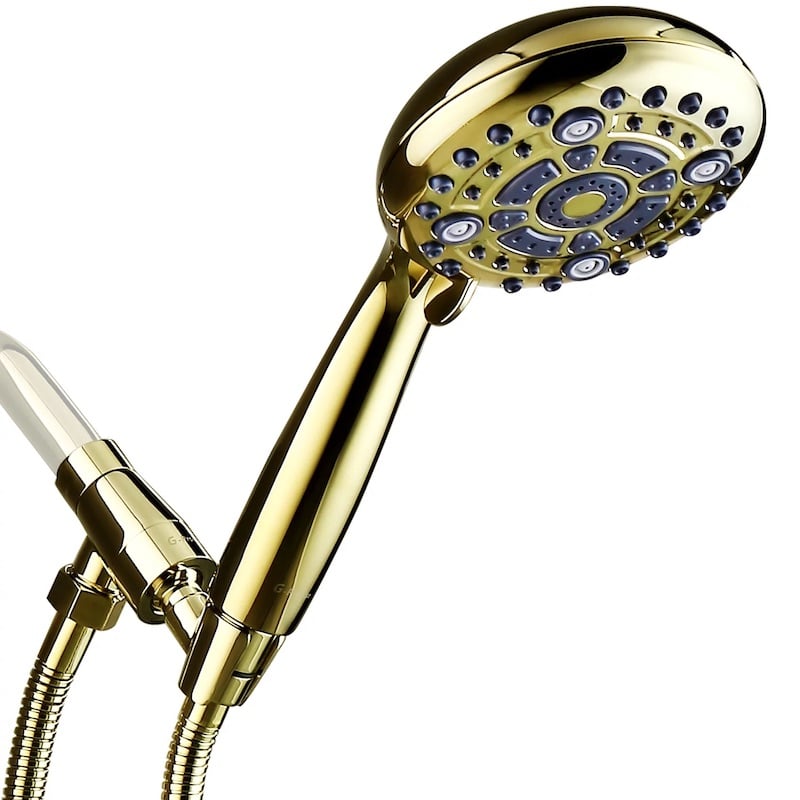
When it comes to massage, the spray settings on a shower head are critical. And this G-Promise model possesses multiple spray settings. Its beautiful round face may be rotated to access six spray settings, including power massage, rainfall plus power massage, and massage. All have multiple spray patterns, but they all provide excellent performance and ample water pressure.
3. Couradric Handheld Shower Head
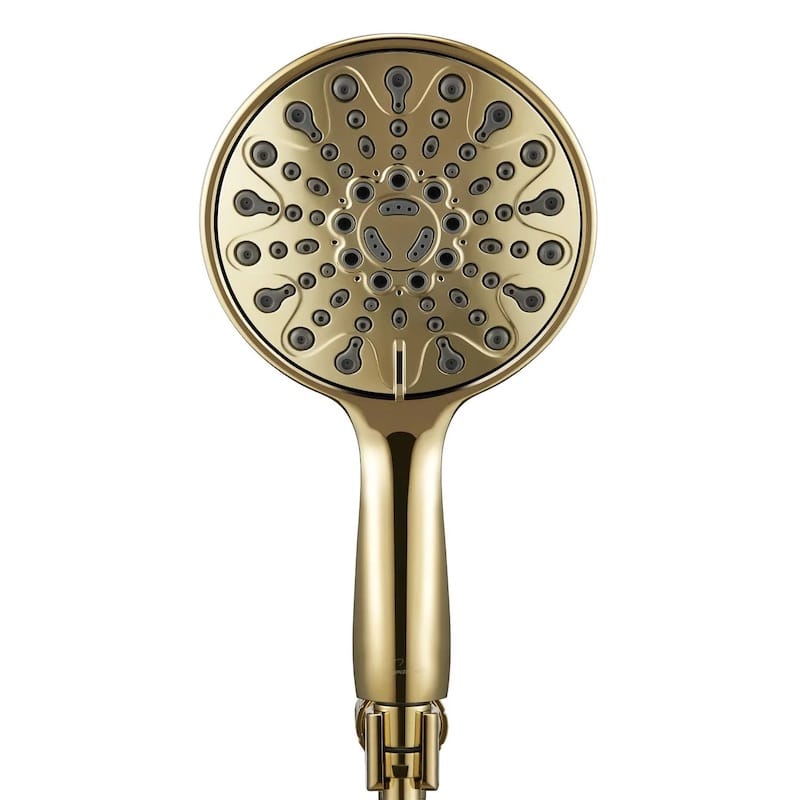
The Couradic Handheld Shower has a 5-inch diameter spray head with six different settings, all of which work well. The modes include bubbling rain, bubbling water, shampoo rinsing, intense massage, and water-saving mode. Depending on your preference, you can change the fixture from 2.5 GPM to 1.8 GPM.
Unlike most shower heads. this one has an inexpensive price tag and is extremely easy to install. It also includes 48 self-cleaning rubber nozzles for mineral prevention and convenience.
A longer reach of 70 inches (180 cm) is provided by the stainless steel hose, with a copper wall-mounting bracket providing stability. Its rounded features, brushed-nickel finish, and appealing aesthetics make it a beautiful addition to any bathroom.
Conclusion
Installing a handheld showerhead is a relatively simple process that can be completed in a few minutes. However, if you encounter any problems during installation or use, it is important to troubleshoot them immediately to avoid further damage.
Need Help Installing A Shower Head With Hose Attachments?
If you’re not confident in your ability to install a handheld showerhead, contact us. We can help you select the right model for your bathroom and walk you through the installation process step-by-step!

