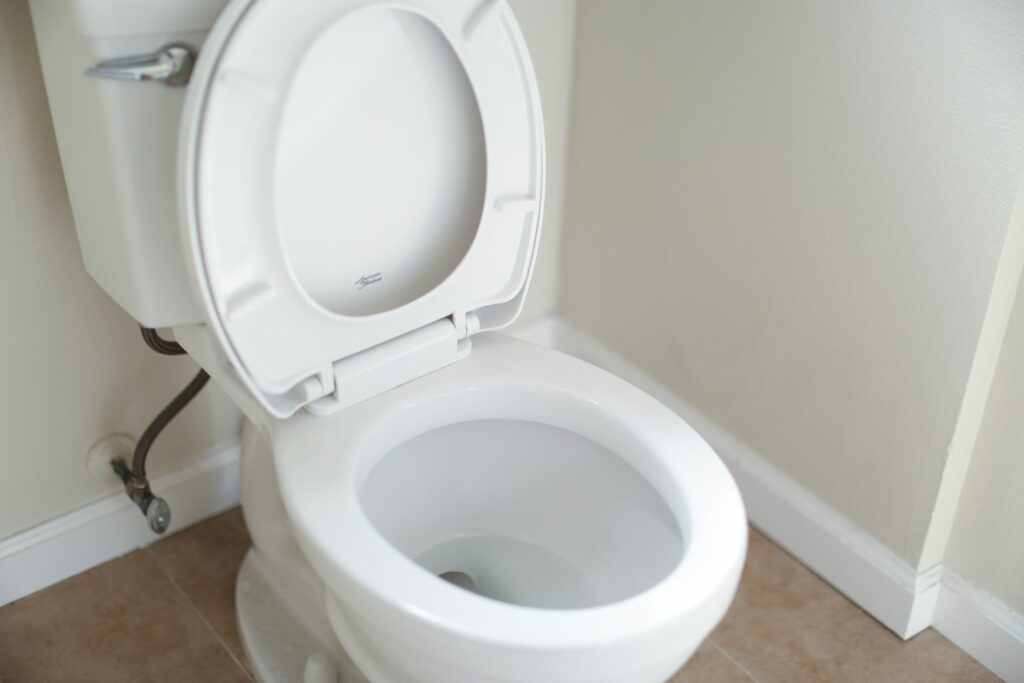
Installing a new toilet might sound like a daunting task, but with the right tools and clear instructions, it can be a straightforward DIY project for most homeowners. Whether you’re upgrading your old toilet, replacing a malfunctioning one, or remodeling your bathroom, we’ve got you covered. This guide walks you through the entire process step by step—from removing the old toilet to ensuring your new one is securely in place and ready to use.
By the end of this guide, you’ll know how to install a toilet like a pro.
Schedule Service Online
Get a free estimate so you know what you're signing up for
"*" indicates required fields
For Emergency Services Call: 410-255-9300
Why Proper Toilet Installation Is Essential
A properly installed toilet is crucial for several reasons, ranging from functionality to long-term cost savings. Here are the key reasons why correct installation should always be a priority:
Prevents Leaks
A poorly installed toilet is a common source of leaks, which can cause extensive water damage to your flooring and subfloor over time. Ensuring tight seals and correct alignment reduces the risk of water escaping and keeps your bathroom dry and damage-free.
Ensures Efficient Functionality
An incorrectly installed toilet can lead to frequent flush malfunctions, clogs, and even sewage backups. Proper installation guarantees that every component, from the flush mechanism to the waste pipe, functions as intended, providing reliable performance.
Reduces Odors
A misaligned toilet or a faulty wax ring can allow sewer gases to escape into your bathroom, causing unpleasant odors. Proper installation ensures a secure connection to the sewer line, keeping odors where they belong—out of your home.
Improves Water Efficiency
Modern toilets are designed to operate efficiently, using minimal water with each flush. However, this efficiency is compromised if the toilet isn’t installed correctly, leading to potential water waste and higher utility bills.
Extends Lifespan
When installed properly, a toilet is less likely to experience wear and tear caused by improper alignment or stress on components. This enhances the durability of the unit, saving you from frequent repairs or having to replace parts prematurely.
Maintains Structural Integrity
An unstable or wobbly toilet is not just uncomfortable but can also weaken the surrounding flooring and fixtures over time. Proper installation ensures stability, evenly distributes weight and prevents long-term structural issues.
Compliance with Building Codes
Many local building codes have specific requirements for installing toilets to ensure safety and functionality. Correct installation ensures compliance, avoiding potential fines or the need for costly rework during inspections.
By prioritizing proper toilet installation, you’re making an investment in your home’s comfort, safety, and efficiency.
What You’ll Need Before You Start
Before getting started, make sure you’ve got the necessary materials and tools for the installation process. Here’s a handy checklist:
Materials:
- New toilet (toilet bowl and toilet tank)
- Wax ring or wax-free seal
- Toilet bolts and tank bolts (usually included with the new toilet)
- New water supply line (optional, but recommended for optimal performance)
Tools:
- Adjustable wrench
- Channel locks or pliers
- Screwdriver
- Utility knife
- Putty knife
- Paper towels or rags
- Bucket or small bowl
- Level
- Gloves (optional, but recommended for cleanliness)
Safety Tip:
Before starting the installation, shut off the water supply to the toilet using the shutoff valve near the wall. Flush all the water out and use a bucket to catch any remaining water in the tank or bowl.
How to Install a Toilet Step by Step
Step 1: Remove the Old Toilet
- Turn off the toilet’s water supply using the shutoff valve.
- Flush the toilet to drain most of the water. Use a sponge or paper towels to absorb any remaining water in the tank and toilet bowl.
- Disconnect the water supply line from the bottom of the toilet tank using an adjustable wrench.
- Use a utility knife to cut through any caulk sealing the toilet base to the floor.
- Unscrew the nuts holding the toilet bowl to the floor bolts (also known as closet bolts). Gently rock the toilet a bit to break the wax seal, then lift the toilet straight up and set it aside on old towels or newspapers.
Step 2: Remove the Old Wax Ring
Once the old toilet is out, you’ll see the old wax ring stuck to the flange (the circular drain opening on the floor). Use a putty knife to scrape off all remnants of the wax ring. Be thorough to ensure a clean surface.
Pro Tip: Stuff a rag into the drain opening to prevent sewer gases from escaping while you work.
Step 3: Inspect and Replace the Flange (if needed)
Check the condition of the flange. If it’s damaged or has rust, you may need to replace it. You can purchase a flange repair kit or a new flange at your local hardware store. A secure and properly installed flange is crucial for preventing leaks.
Step 4: Install the New Wax Ring
Place a new wax ring or wax-free seal on the bottom of the toilet bowl or directly on the flange (depending on manufacturer instructions). Ensure it is centered over the drain opening.
Step 5: Position the Toilet Bowl
Carefully lift the new toilet bowl and align it with the floor bolts and flange. Lower the bowl straight down onto the wax ring, pressing firmly to create a good seal. Avoid rocking the bowl, as this could damage the wax ring.
Pro Tip: Use a level to ensure that the toilet bowl is properly aligned and not tilted.
Step 6: Secure the Toilet Bowl
Once the bowl is in position, tighten the nuts onto the floor bolts (closet bolts) using an adjustable wrench. Be careful not to overtighten, as this could crack the porcelain.
Step 7: Attach the Toilet Tank
If your new toilet comes in two pieces, attach the toilet tank to the bowl. Place the rubber gasket onto the flush valve opening of the bowl and carefully align the tank bolts with the corresponding holes. Secure the tank with the provided nuts and bolts, tightening them evenly to avoid uneven pressure.
Step 8: Connect the Water Supply Line
Reconnect or replace the water supply line. One end of the line attaches to the shutoff valve, while the other connects to the fill valve at the bottom of the toilet tank. Tighten the connections snugly with an adjustable wrench.
Step 9: Test for Leaks
Turn the water supply back on and allow the tank to fill. Once full, flush the toilet and check for leaks around the base, tank, and water supply line. If you notice any leaks, tighten the connections slightly or recheck the wax seal.
Pro Tip: If the toilet seems wobbly, secure the base by tightening the floor bolts and applying a thin bead of caulk around the base.
Step 10: Finish Up
Clean up any leftover tools and materials. Your toilet is now installed and ready to use!
Signs You May Need a New Toilet
Recognizing the signs that your toilet may need replacing can save you from unexpected problems and costly repairs. Here are some common indicators that it’s time to invest in a new toilet:
Frequent Clogging
If your toilet is clogging more often than usual, even with minimal use, it could indicate an underlying issue. Older toilets, especially those with less efficient flushing systems, are more prone to repeated blockages.
Cracks in the Tank or Bowl
Visible cracks in the porcelain of the tank or bowl are warning signs that your toilet may soon fail entirely. Cracks can lead to water leaks and potential water damage to your bathroom floor if not addressed promptly.
Constant Running Water
A toilet that never stops running can waste a significant amount of water, leading to increased utility bills. While some issues with running water can be repaired, persistent problems might indicate it’s time for a replacement.
Inefficient Water Usage
Older toilet models often use significantly more water per flush than modern, water-efficient models. If you notice your water bill steadily rising, upgrading to a newer, eco-friendly toilet can save water and reduce costs.
Frequent Repairs
If you find yourself constantly repairing parts of your toilet, such as the flapper, fill valve, or handle, it may be more economical to replace the entire unit rather than continue spending on repairs.
Wobbling or Instability
A toilet that wobbles or feels unstable could mean there are issues with its foundation or mounting hardware. While a simple tightening might solve the problem temporarily, ongoing instability is a sign you should consider a new toilet.
Outdated Design or Features
Aesthetic preferences or the need for modern features, like dual-flush systems or comfort-height designs, might also lead you to replace your toilet. Upgrading can improve functionality and appearance, aligning your bathroom with current trends and needs.
By watching for these signs, you can avoid sudden toilet failures and ensure your bathroom remains a functional and efficient space.
Common Mistakes to Avoid
- Forgetting the Wax Ring: Installing a toilet without a proper wax seal can lead to leaks and unpleasant odors.
- Overtightening Bolts: Bolts that are too tight can crack the porcelain of your new toilet bowl or tank.
- Skipping the Level Check: An uneven toilet can cause long-term issues, including leaks.
- Reusing the Old Water Supply Line: A new supply line ensures a secure, leak-proof connection.
Why Upgrading Your Toilet is Worth It
Installing a new toilet means keeping it maintained and healthy. Here are some solutions for a quick fix before things get too bad.
- Water Efficiency: Modern toilets use less water per flush, saving money on your water bill.
- Improved Comfort: Upgraded designs offer a better fit and added features like soft-close lids and bidet attachments.
- Aesthetic Appeal: A sleek new toilet can enhance the look and feel of your bathroom.
6 Top Products and Brands to Unclog Your Toilet Safely
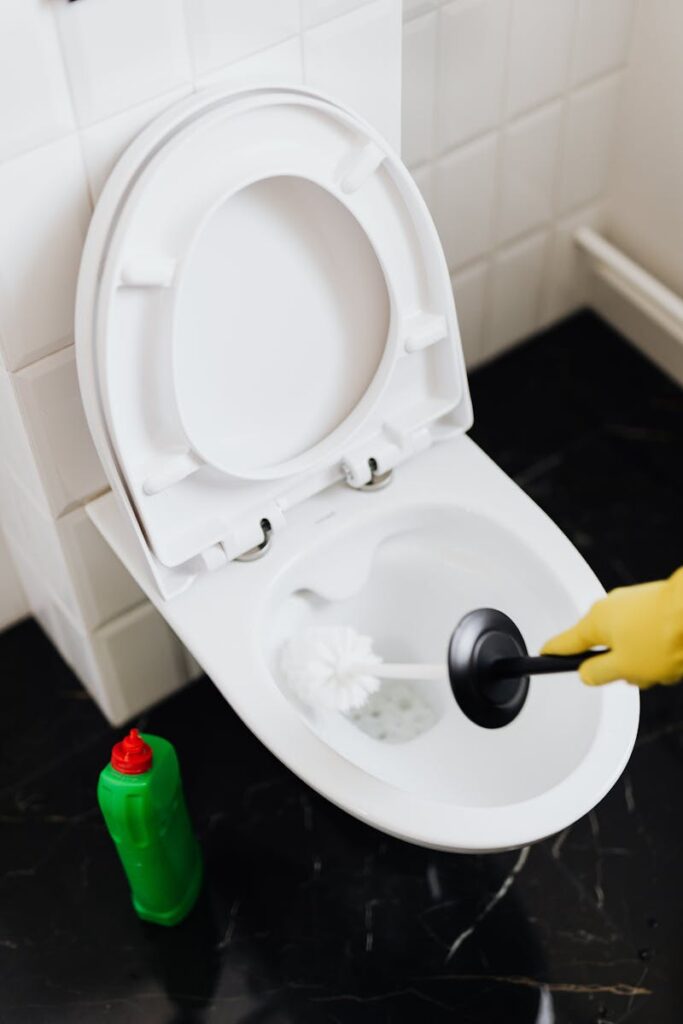
When dealing with a clogged toilet, having the right tools and products can make all the difference. Below are six highly recommended products and brands that can help you unclog your toilet safely and efficiently:
Drano Max Gel
Drano Max Gel is a powerful drain cleaner designed to cut through the toughest clogs. Its thick formula works quickly to dissolve hair, soap scum, and other debris. Perfect for toilets and other drains, it’s a household staple for clogged plumbing.
Green Gobbler Drain Clog Dissolver
Environmentally friendly and effective, Green Gobbler’s Drain Clog Dissolver combines safety with performance. It tackles grease, toilet paper, and organic materials without relying on harsh chemicals that could damage pipes.
Korky Beehive Plunger
The Korky Beehive Plunger is specifically designed to create a superior seal in both standard and high-efficiency toilets. Its unique shape and high-quality construction ensure effective unclogging with minimal effort.
Buy Korky Beehive Plunger here.
RIDGID Power Spin Drain Cleaner
This hand-crank drain auger is ideal for stubborn toilet clogs. With a 25-foot cable and easy-to-use design, the RIDGID Power Spin offers an efficient solution for removing deeper blockages.
Liquid-Plumr Full Clog Destroyer
Liquid-Plumr is another reliable drain cleaner that works quickly to break down tough clogs. Designed to be safe on toilets, pipes, and septic systems, it’s a versatile option for resolving common blockages.
FlexiSnake Drain Weasel
The FlexiSnake Drain Weasel is a reusable tool designed to extract hair and other debris from toilets and drains. Its slim, flexible design allows it to reach into hard-to-access areas, making it an excellent choice for light to moderate clogs.
These products and brands not only help you tackle clogs effectively, but many are also safe for your plumbing and environmentally conscious. Always follow the manufacturer’s instructions for safe and optimal usage.
MD Sewer and Plumbing will handle the most stubborn of clogs. Contact us today!

Take the Next Step Toward a Leak-Free Bathroom
Installing a toilet doesn’t have to be a nerve-wracking experience. By following these steps and double-checking everything along the way, you’ll have your new toilet up and running in no time.
If you’re unsure about any part of the process or encounter issues like water damage or rusted bolts, don’t hesitate to contact a professional plumber. Installing a toilet correctly ensures you enjoy years of trouble-free use.
Happy DIYing and flush confidently!

