A sink plunger is a flat-bottomed rubber cup tool that uses alternating water pressure and suction to dislodge soft drain blockages like hair, soap buildup, and food debris. To use one correctly, seal the drain opening completely, block any overflow vents, and apply short, controlled thrusts — never excessive force. If repeated plunging doesn’t clear the clog, a professional plumber should assess the drain.
A slow or completely stopped sink is one of the most common plumbing complaints we hear from Maryland homeowners. Hair wraps around drain stoppers. Grease builds up inside kitchen pipes. Soap residue combines with debris until water has nowhere to go. It’s frustrating, but the good news is that some of these blockages — particularly soft, near-surface ones — can be cleared at home with a simple sink plunger and the right technique.
The key word there is “some.” At MD Sewer & Plumbing Services, we’ve been handling drain and sewer problems across Pasadena and surrounding Maryland communities since 1989. That’s 35-plus years of pulling up to homes where a well-meaning attempt at DIY plunging made things worse. Not because homeowners aren’t capable — but because they used the wrong plunger, skipped a critical step, or kept forcing a clog that really needed a professional drain snake or camera inspection to diagnose properly.
Schedule Service Online
Get a free estimate so you know what you're signing up for
"*" indicates required fields
For Emergency Services Call: 410-255-9300
This guide covers everything you need to know about using a sink plunger safely and effectively. We’ll walk through how a plunger actually works, which type to use for which drain, common mistakes that can stress your pipes, and — just as importantly — the warning signs that tell you it’s time to stop plunging and call us.

Photo by ooneiroslyl on Unsplash
What Is a Sink Plunger and How Does It Work?
A sink plunger — also called a cup plunger or drain plunger — is a straightforward tool: a flat rubber cup attached to a straight handle. That rubber cup sits over the drain opening, and when you push and pull the handle, you create alternating changes in water pressure inside the pipe. The compression on the downstroke pushes water into the drain; the suction on the upstroke pulls it back. This back-and-forth action can loosen, break apart, and dislodge a soft obstruction sitting near the drain opening.
Once the blockage breaks up, running water can help flush the loosened material through the drainage system.
Sink plungers tend to work best on relatively soft, near-surface blockages such as:
- Accumulated hair and soap scum in bathroom sinks
- Light food debris in kitchen drains
- Soap or toothpaste buildup
- Minor surface-level debris
A plunger won’t reach deep obstructions, won’t cut through grease layers that have hardened inside your pipes over months, and won’t do anything about a solid object that’s lodged below the P-trap. For those situations, you need different tools — or a professional.
For a broader look at the DIY methods available for clogged sink drains, Bob Vila’s guide to unclogging a sink drain is a solid overview that covers plunging, hot water, baking soda and vinegar, and drain snakes in one place.
Why a Flat Rubber Cup Creates a Tight Seal
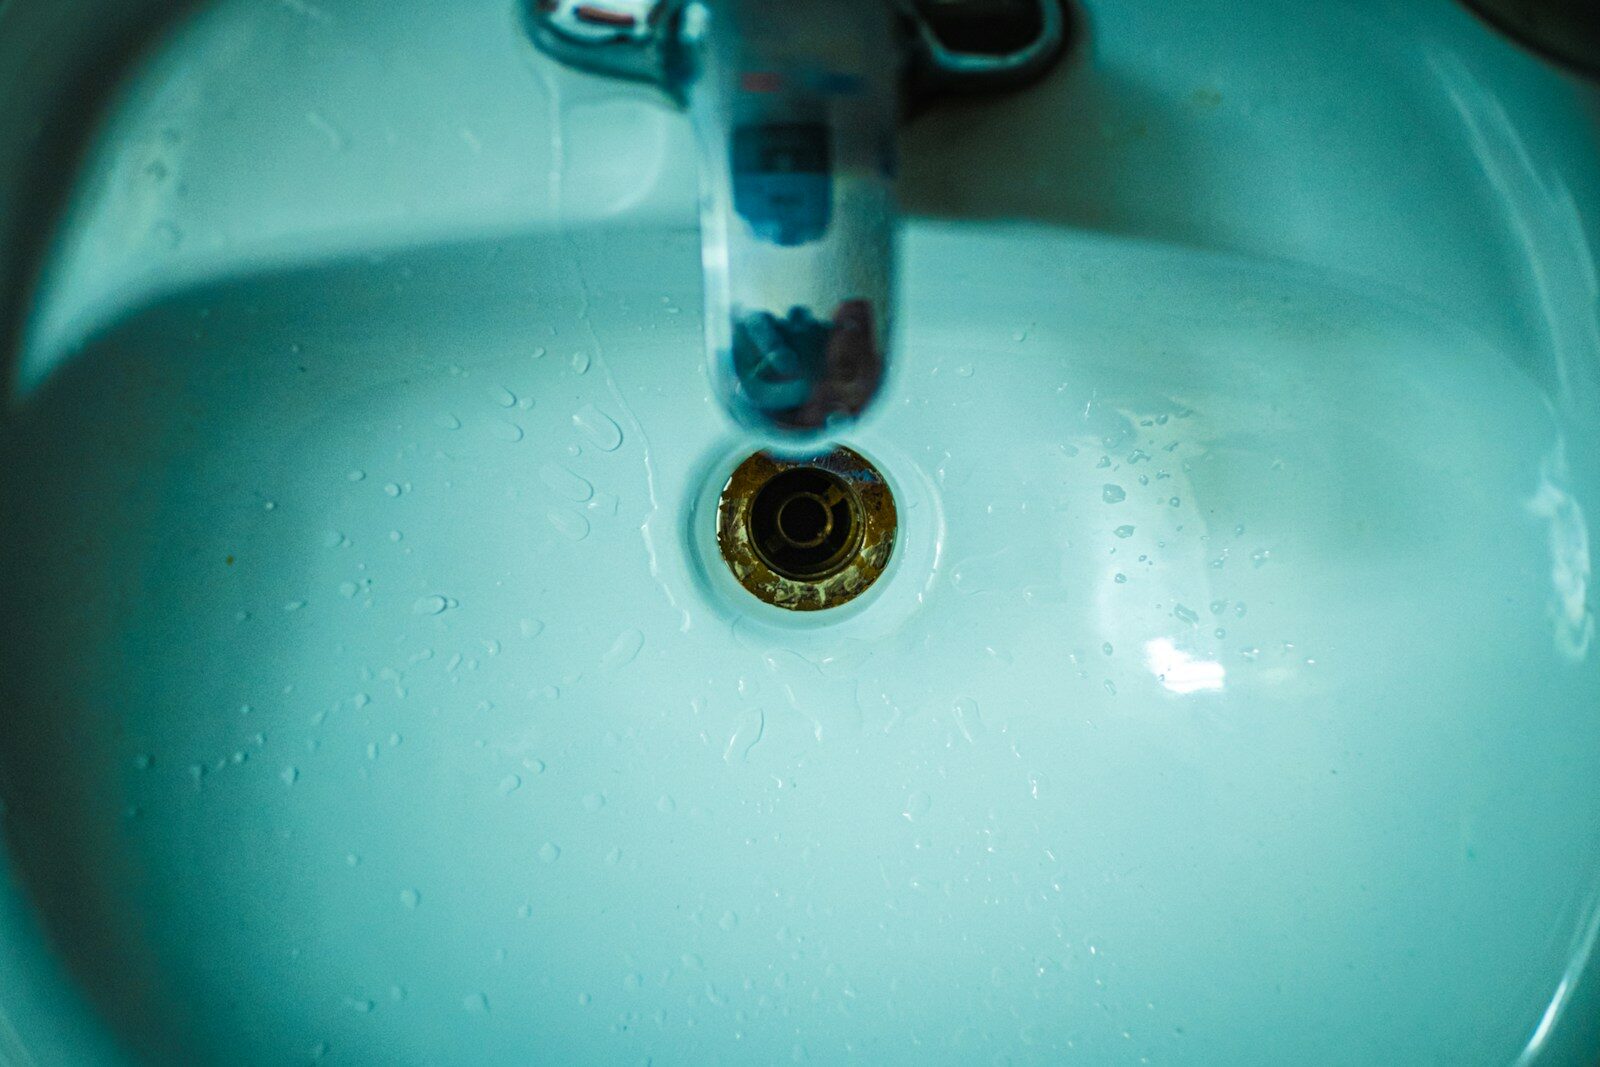
The flat bottom of a sink plunger is designed specifically to press flush against the flat surface surrounding a drain opening. That contact point creates a sealed chamber. Without a tight seal, all the pressure you generate simply escapes around the edges of the cup rather than traveling down into the pipe. A proper seal is what turns a plunger from a piece of rubber on a stick into an effective tool. Adding a few inches of water to the sink before plunging helps too — pushing water into the drain is more effective than pushing air.
Sink Plunger vs. Toilet Plunger: Choosing the Right Tool
This distinction matters far more than most homeowners realize. Picking up the wrong plunger doesn’t just reduce effectiveness — it can introduce sanitary hazards and create a frustrating experience where no amount of effort seems to work.
For an overview of plunger types and what each is designed to do, Lowe’s plunger buying guide provides a helpful visual breakdown of cup shapes, handle styles, and intended applications.
Cup (Drain) Plunger
The standard cup or drain plunger has a dome-shaped rubber cup with a flat bottom edge. That flat profile is what makes it ideal for flat drain surfaces — kitchen sinks, bathroom sinks, bathtubs, and showers. If you’re buying one plunger for sink use, this is the correct choice. Most hardware stores sell them for a few dollars, and a good one with a stout handle will last for years.
Toilet Plunger (Flange Plunger)
A flange plunger has a soft rubber flap — the flange — that extends from the bottom of the cup. That flange is designed to fit into the toilet drain opening, creating a tight seal in a curved bowl. It doesn’t work well on flat drain surfaces because the flange prevents the cup from sitting flush. Using a flange plunger on a sink typically results in weak, ineffective pressure with no real suction.
Accordion and Beehive Plungers
Accordion plungers are rigid plastic tools that can generate significant pressure — primarily designed for toilets. Beehive-style plungers are another toilet-focused design built to accommodate modern toilet drain shapes. Some compact variations claim to work on flat drains, but always check the manufacturer’s instructions before attempting to use a specialized plunger on a sink, tub, or shower. When in doubt, a standard flat cup plunger is the safer and more reliable choice for sink drains.
One more important note: Keep your sink plunger and toilet plunger completely separate. Label them if needed. Never use a plunger that has been in a toilet on a kitchen or bathroom sink. This is a basic sanitary rule that many homeowners overlook.
How to Use a Sink Plunger Properly: Step by Step
According to Family Handyman, a plunger and drain snake together can clear roughly 95 percent of stopped-up drain problems when used correctly. The technique matters as much as the tool itself. Follow these steps carefully — and pay attention to the warnings throughout.
For the full Family Handyman walkthrough including P-trap cleaning and drain snake use, visit their guide to cleaning and unclogging a kitchen sink drain.
Step 1: Remove or Adjust the Drain Stopper
Before placing the plunger over the drain, remove the stopper if possible. Many bathroom sink stoppers can be lifted out by hand or released by unscrewing a small retaining nut under the sink. With the stopper out of the way, you can see what’s near the surface of the drain and remove any accessible debris before you begin. Never push visible debris farther down into the pipe.
Step 2: Plug the Overflow Drain
A bathroom sink typically has a small oval opening near the top of the basin — the overflow drain. This is a safety feature that prevents the sink from flooding. It also defeats your plunger completely if you leave it open, because the pressure you generate will simply escape through that opening rather than traveling into the pipe.
Press a wet rag firmly into the overflow opening and hold it in place while you plunge. In a double-basin kitchen sink, use a wet rag or basket strainer to seal the second drain.
Step 3: Add Enough Water to Cover the Rubber Cup
Leave or add enough water in the sink so that the rubber cup of the plunger will be slightly submerged when placed over the drain. Plunging against water is significantly more effective than plunging against air. You want the cup filled with water, not air, when you begin.
Step 4: Position the Plunger Over the Drain
Center the cup directly over the drain opening and press down gently to create a firm, even seal around the entire edge of the cup. Check that no part of the rim is lifted off the sink surface. If it is, reposition the plunger before you begin.
Step 5: Plunge With Short, Controlled Thrusts
Use short, quick, controlled strokes — not wild, forceful slams. Push down to compress the cup, then pull up sharply to create suction. Family Handyman recommends plunging vigorously for about 20 seconds before checking the drain. On the final upstroke, pop the plunger off the drain opening to release an extra burst of suction.
Excessive force is not more effective. It just risks splashing dirty water on you and, in older homes with aging pipes or joints, can stress fittings and seals unnecessarily. Short, deliberate strokes do the actual work.
Step 6: Check the Drainage and Repeat if Necessary
Remove the plunger and run the water. If it drains normally, you’re done. If the clog hasn’t fully cleared, repeat the plunging process. Several rounds may be needed to fully dislodge a soft blockage. That said, if multiple attempts show no improvement at all, stop. Applying more pressure to a clog that isn’t moving won’t help — and might indicate that the blockage is too deep, too solid, or too complex for a plunger to reach.
How to Plunge a Clogged Kitchen Sink
Kitchen sink clogs most often involve a combination of food waste, grease, soap residue, and cooking oils that have accumulated inside the pipe over time. Soft food blockages close to the drain can sometimes respond to plunging; greasy buildup deeper in the pipes usually requires professional drain cleaning.
For a double-basin kitchen sink, cover the second basin drain tightly with a wet rag before plunging. This prevents pressure from escaping into the second basin and directs the force where you need it. If your sink has a dishwasher connection, clamp off the flexible dishwasher drain hose before you begin — plunging with it open can push dirty water back into the dishwasher cabinet.
If your kitchen has a garbage disposal, check whether the disposal itself is the source of the problem before plunging. A humming disposal that won’t spin is usually jammed, not clogged. Turn it off, unplug it, and use the hex key port on the bottom of the unit to manually rotate the blades before attempting to plunge the drain.
Should You Pour Hot Water Down a Kitchen Sink?
Hot water can help loosen light grease or soap residue, but it isn’t a solution for a true clog. If you have PVC pipes — common in many Maryland homes — be cautious. As noted by Bob Vila, PVC pipes can tolerate temperatures only up to about 100 degrees Fahrenheit, well below the 212-degree temperature of boiling water. Pouring boiling water into a PVC drain can soften the pipe material or weaken the glue holding fittings together. Hot water from your tap is safer, but don’t treat it as a reliable fix for a genuine blockage.
How to Plunge a Bathroom Sink
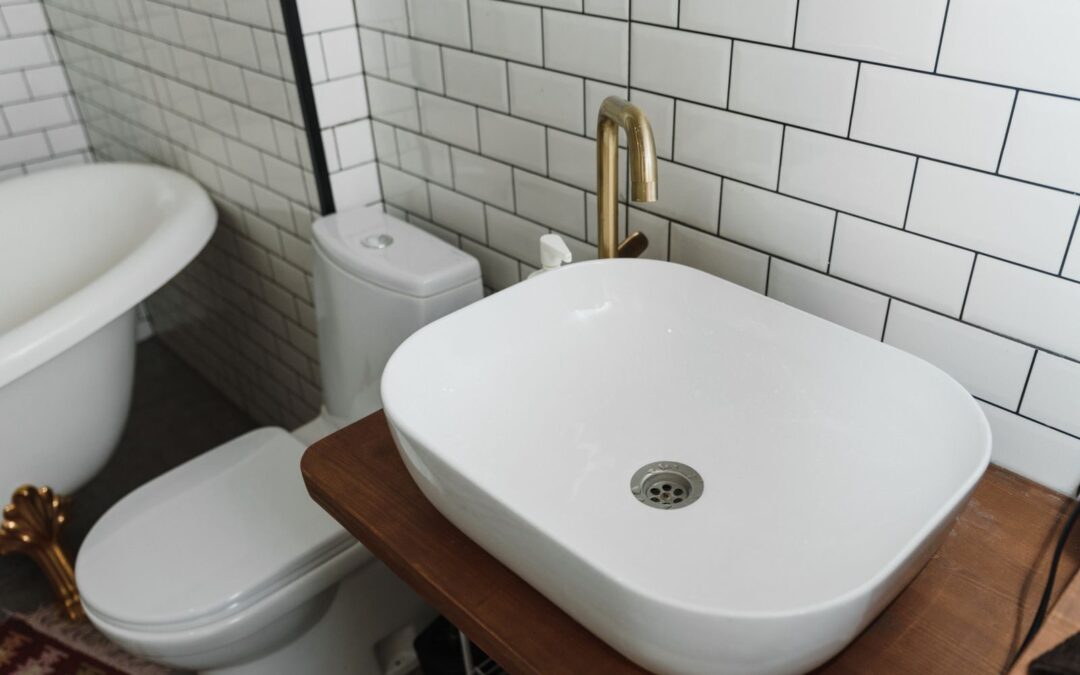
Bathroom sink blockages frequently involve hair — sometimes a significant mass of it — combined with soap scum and grooming products. Remove or lift the drain stopper before you begin, and pull out any hair or debris you can see near the surface. Cover the overflow opening firmly with a wet rag, add enough water to cover the plunger cup, position the flat-bottomed cup plunger over the drain, and use short, quick thrusts.
If a bathroom sink clog doesn’t respond to plunging, the blockage may be a tangled hair mass that’s wrapped around the stopper mechanism or caught deeper in the drain. In those cases, a drain snake or a barbed hair removal tool is more appropriate than continued plunging.
Sink Plunger Not Working? What to Try Next
If the plunger hasn’t cleared the clog after several proper attempts, it’s time to reconsider your approach — not just apply more force.
Inspect the Drain Stopper
Hair and soap can collect around the stopper mechanism itself, particularly on pop-up bathroom sink stoppers. The stopper linkage beneath the sink can be removed to allow the stopper to come out completely, and any accumulated buildup can be cleaned off by hand.
Consider a Drain Snake
A drain snake — also called a hand auger — is a long metal cable that can physically reach into the pipe, work through the P-trap, and break up or retrieve obstructions that plunging cannot reach. For a detailed guide to choosing and safely using a drain snake, The Home Depot’s drain snake guide covers the different types, safety precautions, and step-by-step operation clearly.
One important safety note from The Home Depot: never use a drain snake immediately after pouring a chemical drain cleaner into the pipe. The chemical can splash back onto your skin or into your eyes as the snake rotates. Wait until the chemical has fully drained before attempting to snake the line.
Check the P-Trap Carefully
The P-trap is the curved U-shaped section of pipe directly beneath the sink. It’s designed to hold a small amount of water that blocks sewer gas from entering your home — and it’s also a common place for debris and small objects to collect. For guidance on inspecting and repairing the P-trap, This Old House’s sink drain trap repair guide walks through the process step by step.
If you decide to remove and clean the P-trap yourself, place a bucket underneath before loosening any fittings — water will spill out. Don’t overtighten slip nuts when reassembling. Hand-tight plus a quarter turn with pliers is typically sufficient. If you’re uncomfortable working with the plumbing under your sink, call us. A quick professional visit is far less costly than a leaking fitting that drips into your cabinet for weeks before anyone notices.
What About Baking Soda, Vinegar, Bleach, and Other DIY Tricks?
The baking soda and vinegar method circulates constantly online, so let’s address it directly. The fizzing reaction these two ingredients create when combined can help with minor odors and light surface buildup, but it generates carbon dioxide gas — not the kind of sustained pressure needed to push through a real clog. For genuinely blocked drains, the results are usually disappointing.
Mechanical approaches — plunging, snaking, or professional hydro jetting — are almost always more effective than pouring liquids into a blocked pipe.
One serious safety warning that every homeowner needs to hear: Never mix household drain-cleaning products or chemicals without knowing exactly what you’re combining. According to the City of Skokie’s chemical safety resource, mixing bleach with vinegar produces chlorine gas, and mixing bleach with ammonia produces chloramine gas. Both are genuinely dangerous. If you’ve poured one product into a drain and it didn’t work, don’t add a different product on top of it — you don’t always know what’s sitting in that pipe.
Before reaching for any chemical drain cleaner, think about what’s actually causing the clog. Pouring product after product into a drain that has a solid object lodged in it, or a root intrusion in the sewer line, accomplishes nothing except creating a chemical hazard.
For more context on why baking soda and vinegar may not be the reliable solution many homeowners expect, The Spruce has a thorough breakdown of the chemistry involved and why it often falls short for real clogs.
Common Sink Plunger Mistakes to Avoid
Over 35 years of service calls, we’ve seen every variation of these. The list is worth reading before you reach for the plunger:
- Using a toilet plunger on a sink drain — the flange prevents a proper seal, and sanitary concerns aside, you simply won’t generate effective pressure
- Forgetting to cover the overflow drain in a bathroom sink, allowing all pressure to escape before it reaches the clog
- Leaving the second basin drain open in a double-basin kitchen sink
- Plunging with excessive force — harder isn’t better, and old pipes don’t appreciate the stress
- Assuming a temporarily improved drain means the clog is gone — a clog that partially clears often comes back within days
- Continuing to plunge when nothing is improving — this is when you stop and call a professional
- Inserting a wire hanger or improvised tool into the drain — these can scratch pipe interiors and push debris farther down
- Mixing chemical drain cleaners — never combine products or follow one with another
Photo by Tima Miroshnichenko on Pexels
When Does a Clogged Sink Need a Professional Plumber?
A sink plunger is a genuinely useful tool, but it has a limited range of application. We recommend calling MD Sewer & Plumbing Services when:
- The clog returns repeatedly after clearing
- Water continues draining slowly even after successful plunging
- The blockage shows no improvement after several proper plunging attempts
- Multiple drains in the home are backing up simultaneously — this signals a blockage in the main drain line, not a single fixture
- Water from one drain backs up into another fixture (water from the sink backing up into the tub, for example)
- You hear gurgling sounds from other drains when water runs
- There are sewage odors anywhere in the home
- A drain snake hasn’t resolved the problem
- You suspect an older or fragile plumbing system where DIY work carries extra risk
Recurring clogs, in particular, often indicate a deeper structural problem — a sagging pipe, a partial root intrusion, or significant grease buildup far below the sink — rather than simple debris sitting near the drain opening. A professional inspection with a camera can identify the actual cause and prevent repeated service calls.
Why Maryland Homeowners Call Us for Stubborn Drain Problems
At MD Sewer & Plumbing Services, we want Maryland homeowners to handle the small stuff confidently. We publish guides like this one because an informed homeowner makes better decisions — including the decision to call us when a problem is genuinely beyond what a plunger can fix.
When you do call, here’s what you can expect from our team:
- 35+ years of trusted plumbing experience serving Pasadena and surrounding Maryland communities
- Family-owned, community-focused service — we treat every customer like a neighbor
- Licensed, highly trained technicians with the tools and expertise for any drain or sewer challenge
- 24/7 emergency plumbing availability — we’re there when you need us, day or night
- Professional drain cleaning including hydro jetting and sewer camera inspection
- Honest, upfront pricing with no hidden fees or surprises
- Free estimates and easy online scheduling
- Preventive maintenance to help you avoid costly problems before they start
Whether you’re dealing with a stubborn clogged sink or a more serious drainage issue, one call connects you with our full team of plumbing and sewer specialists.
Sink Plunger FAQs
What type of plunger is best for a sink?
A flat-bottomed cup plunger is the best choice for sink drains. Its flat rubber cup creates a proper seal against the flat surface surrounding a sink drain opening. A toilet or flange plunger, by contrast, has a rubber flap designed for the curved opening of a toilet bowl and cannot form an effective seal on a sink.
Can I use a toilet plunger on a sink?
Technically, you can attempt it, but the results will be poor, and the sanitary concern is real. A flange plunger can’t form a proper seal on a flat sink drain, so you’ll generate very little useful pressure. More importantly, a plunger that has been used in a toilet should never be used on a kitchen or bathroom sink. Keep them clearly separated.
Why do I need to cover the overflow drain before plunging a bathroom sink?
The overflow opening in a bathroom sink is designed to let air and water escape when the basin gets too full. During plunging, it lets your pressure escape instead of directing it into the pipe. Blocking the overflow with a wet rag forces the pressure you generate to travel into the drain where it can actually reach the clog.
How many times should I plunge a clogged sink?
Several rounds of 15 to 20 short, controlled thrusts, with a drain check in between, is a reasonable starting point. Repeat the process if you see signs of improvement. Stop and call a professional if repeated attempts produce no meaningful change — continuing indefinitely won’t make a difference and risks stressing your plumbing.
Can a plunger clear hair from a sink drain?
Sometimes. Soft hair-and-soap blockages near the drain opening can respond to the suction a plunger creates. However, tangled hair masses wrapped around the stopper mechanism or knotted deeper in the drain typically require physical removal by hand, a barbed hair removal tool, or a professional drain snake. Plunging won’t untangle hair.
When should I use a drain snake instead of a sink plunger?
Reach for a drain snake when the clog doesn’t respond to plunging or is located deeper in the pipe past the P-trap. A snake physically travels into the pipe and can break up or retrieve material that suction and pressure cannot dislodge. If you’re not comfortable using one, our technicians can handle it quickly and safely.
Can a sink plunger damage plumbing?
Controlled plunging with a correctly sized plunger is generally safe for modern plumbing. However, excessive force — particularly in older homes with aging pipes, deteriorating joints, or corroded fittings — can stress seals and connections. If you have concerns about the condition of your plumbing, call us before attempting aggressive DIY methods.
Can I use a sink plunger in a bathtub or shower?
Yes, a flat cup plunger can work on many bathtub and shower drains as long as you can form a proper seal around the drain opening. As with a bathroom sink, cover the overflow opening before plunging. If the tub has a built-in overflow plate, press a wet rag over it firmly while plunging.
Know When to Plunge and When to Call Us
A sink plunger earns its place in every Maryland home’s toolkit. For soft, near-surface drain blockages, it’s fast, inexpensive, and chemical-free. Use a flat-bottomed cup plunger, create a tight seal, block the overflow opening, and apply short, controlled thrusts — not brute force.
Hair, soap residue, and light food debris are exactly the kinds of blockages where a good plunging technique pays off. Deep grease buildup, solid obstructions, recurring clogs, and multiple drains backing up at once are not.
When the plunger reaches its limits, MD Sewer & Plumbing Services is ready. We’ve been solving Maryland’s toughest plumbing and drainage problems since 1989 — with licensed technicians, professional equipment, and the kind of honest service a family-owned business builds its reputation on.